Build a reliable ventilation route with grow room ducting and accessories for connecting extraction fans, carbon filters and air outlets. Choose from flexible aluminium, acoustic and combi ducting, plus clamps, reducers, straight connectors, wall flanges, tee pieces and Y pieces for straightforward or more complex installations.
Match the duct diameter to your fan and filter, choose a suitable length and keep the route as short and straight as practical. Secure and seal every joint to reduce air leakage, vibration and avoidable airflow loss.
Grow room ducting and ventilation accessories
Ventilation ducting carries air between a carbon filter, inline fan and the chosen exhaust point. It can also be used on an intake system to bring replacement air into an indoor horticultural space. The fittings used between those components help keep the route secure, adapt incompatible connection sizes and divide or join sections where the installation requires it.
Good duct selection is about more than finding a tube with the correct diameter. Material, length, insulation, bend radius and the number of fittings all influence noise and real-world airflow. Planning the complete route before ordering makes it easier to choose compatible ducting, clamps and connectors while avoiding unnecessary restrictions.
Types of ventilation ducting
Aluminium ducting
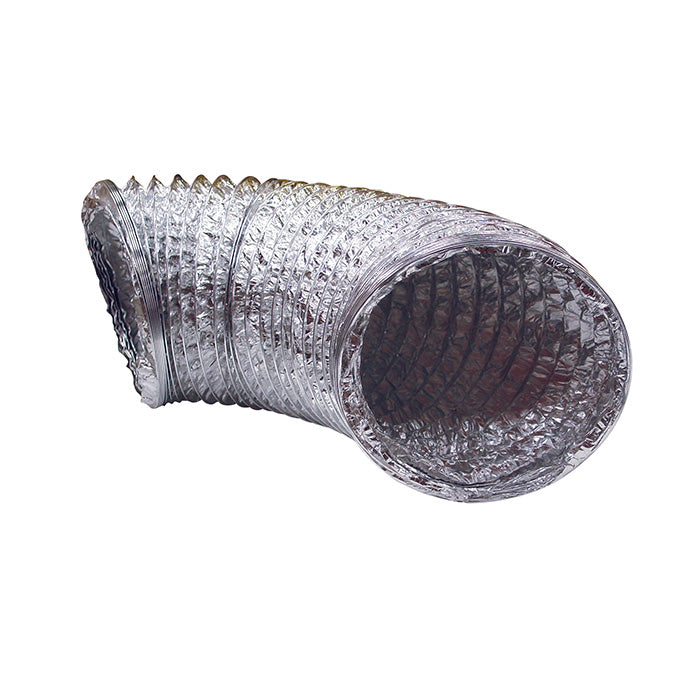
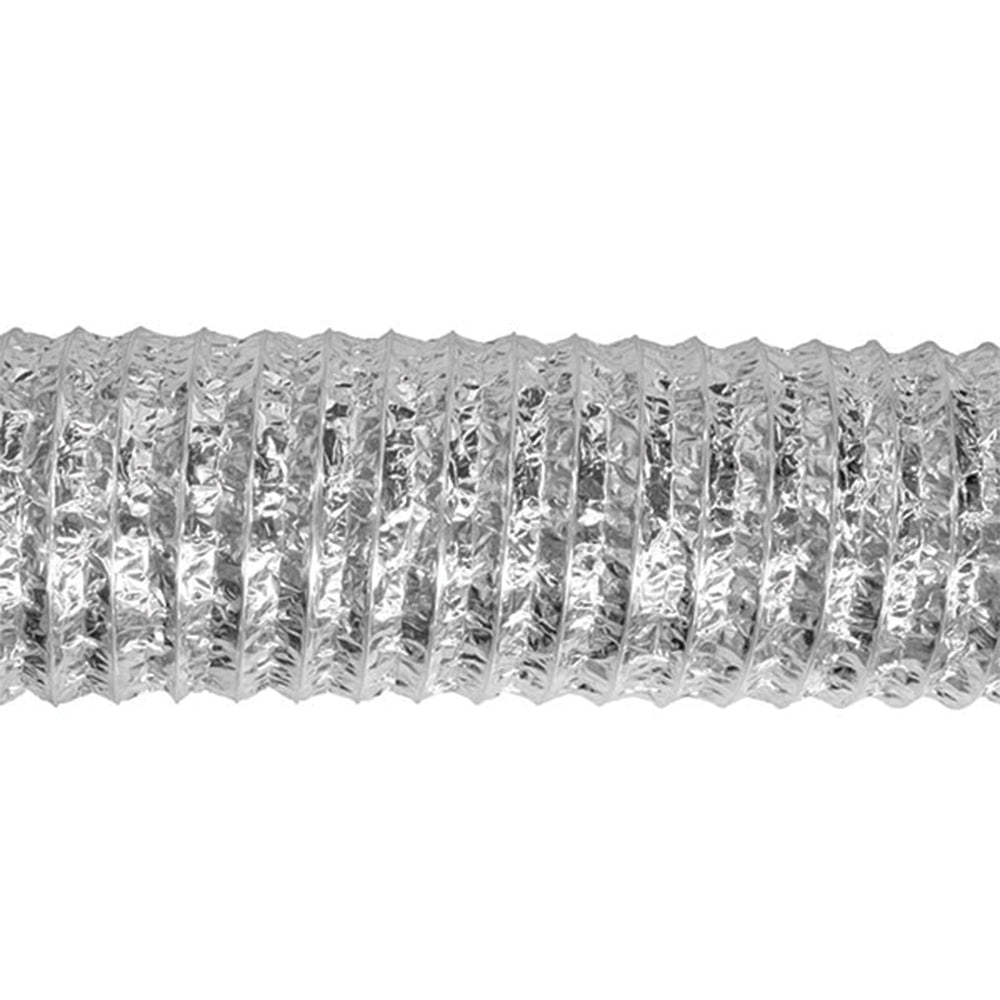
Flexible aluminium ducting is a practical choice for many extraction and intake layouts. Its concertina construction allows it to follow bends and compress for storage, although it should be extended reasonably taut when installed. Leaving it tightly compressed or adding sharp turns creates more internal resistance and can increase turbulence.
Acoustic ducting
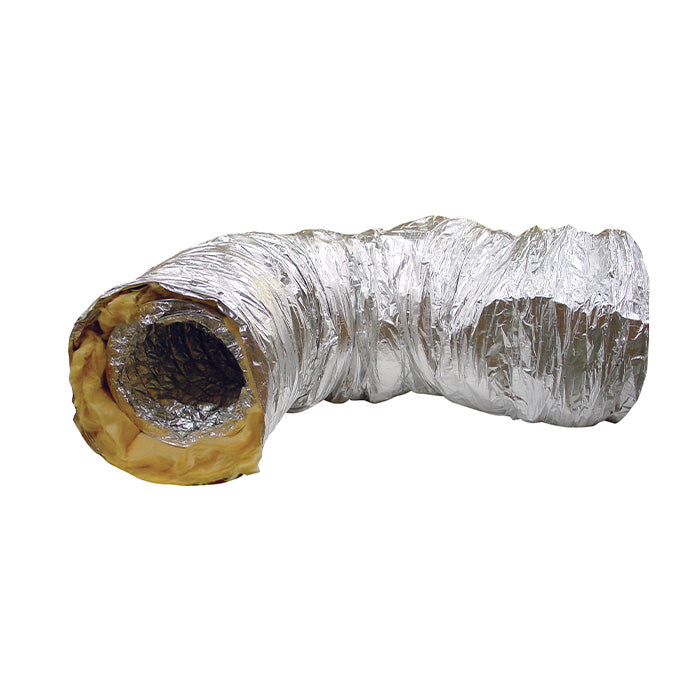
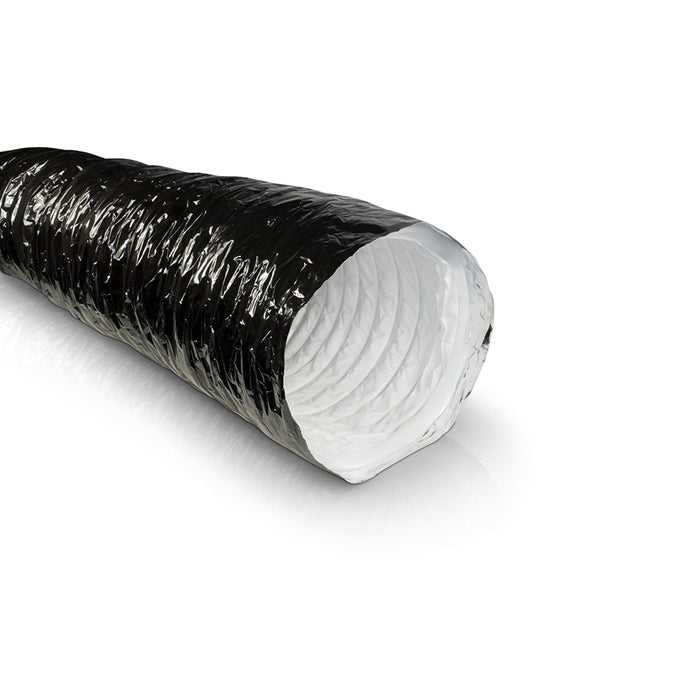
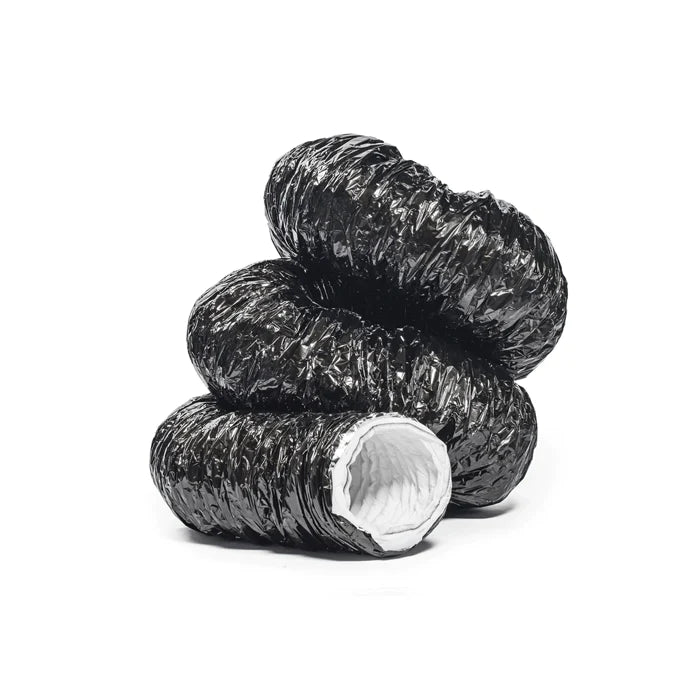
Acoustic ducting surrounds an inner air path with sound-absorbing insulation and an outer sleeve. It can help reduce the transmission of fan and airflow noise through the duct run, particularly when used with suitable mounting and sensible air velocity. Because it has a larger outside diameter than basic aluminium ducting, allow additional room around bends and connection points.
Combi ducting
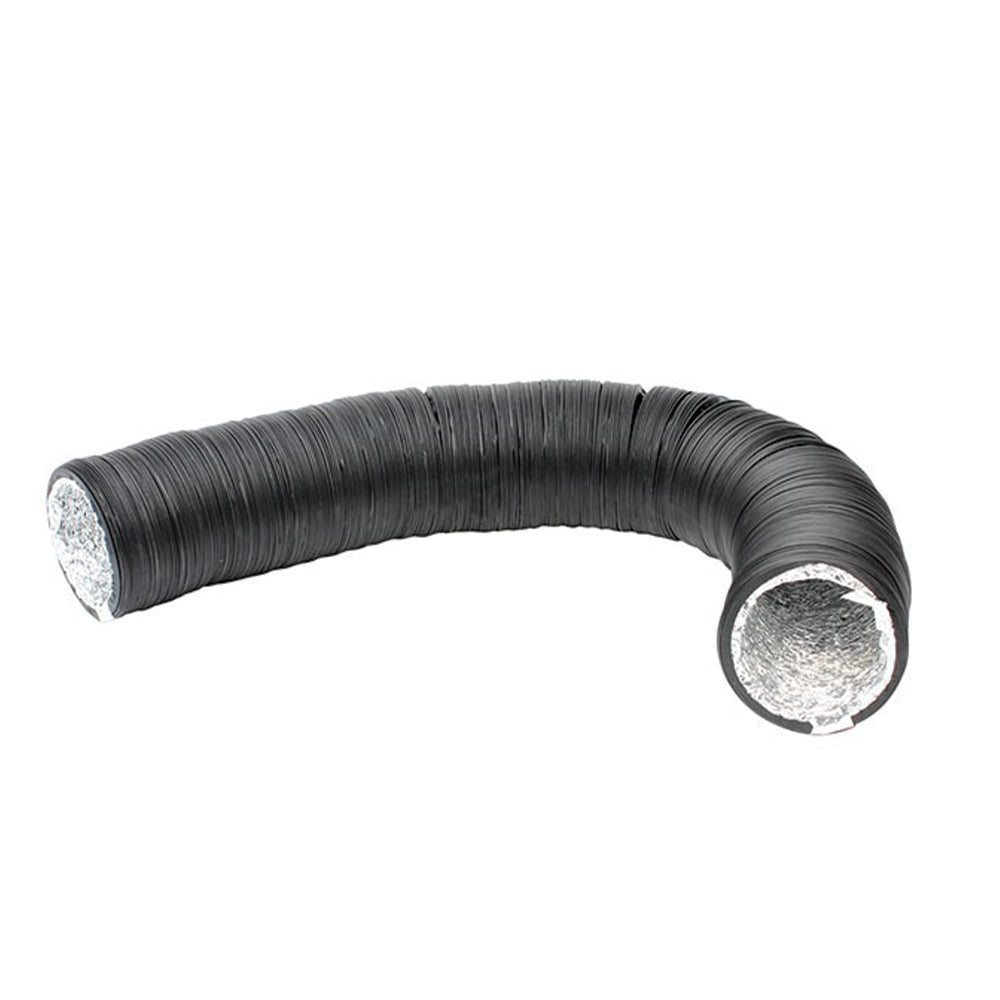
Combi ducting combines a flexible foil interior with a tougher outer layer. The extra covering helps protect the inner duct during handling and installation, making it useful where a more robust flexible route is preferred. It is not the same as insulated acoustic ducting, so compare the construction and intended benefit on the individual product page.
Reinforced multi-layer ducting
Selected products use multiple reinforced layers to improve resistance to tearing and pinholes. These compact lengths can suit compatible tent ports and ventilation equipment where durability matters. Check whether the stated size is metric or imperial and confirm the actual connection diameter before ordering.
Ducting clamps, connectors and fittings
Jubilee clips and fast clamps
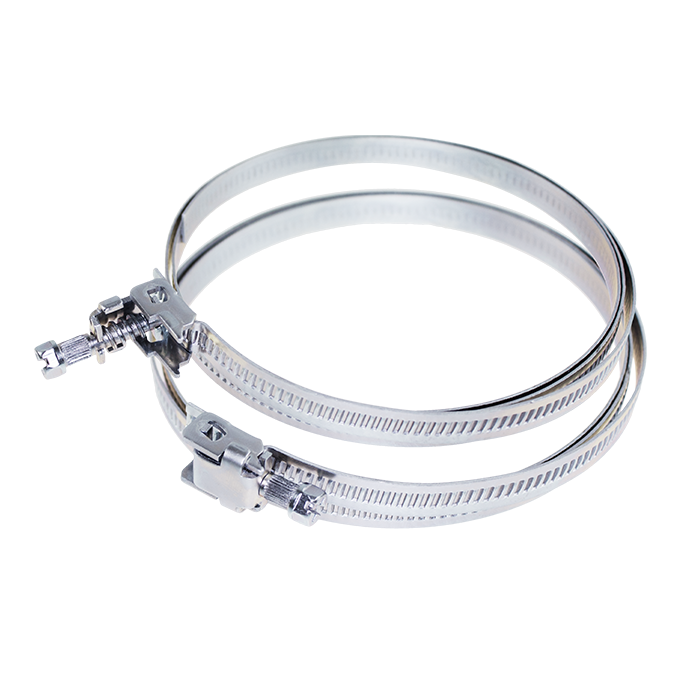
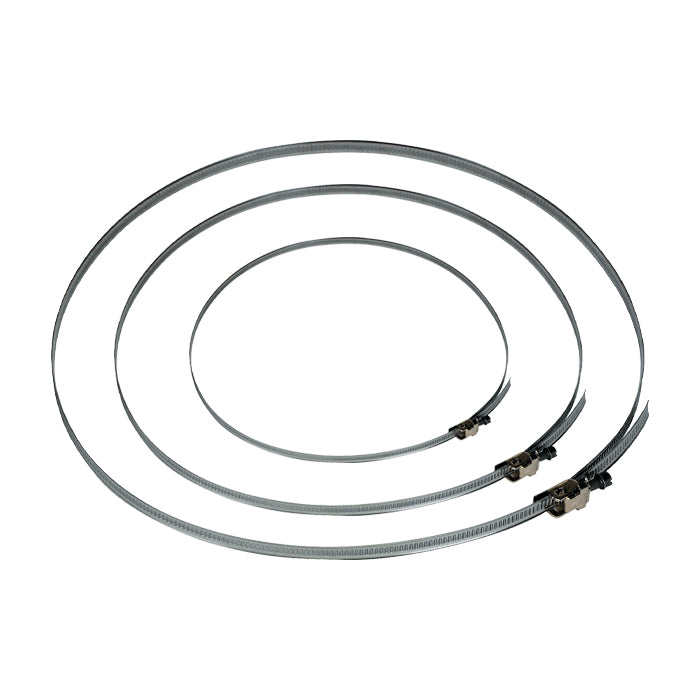
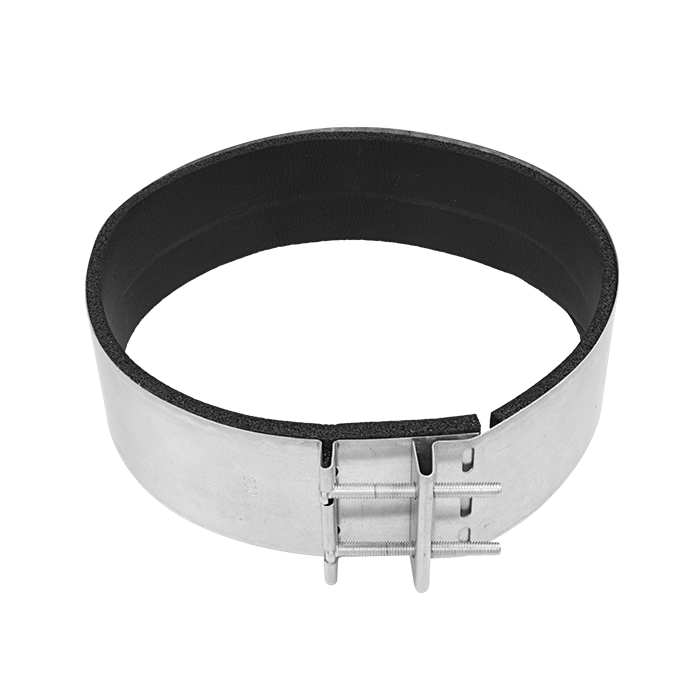
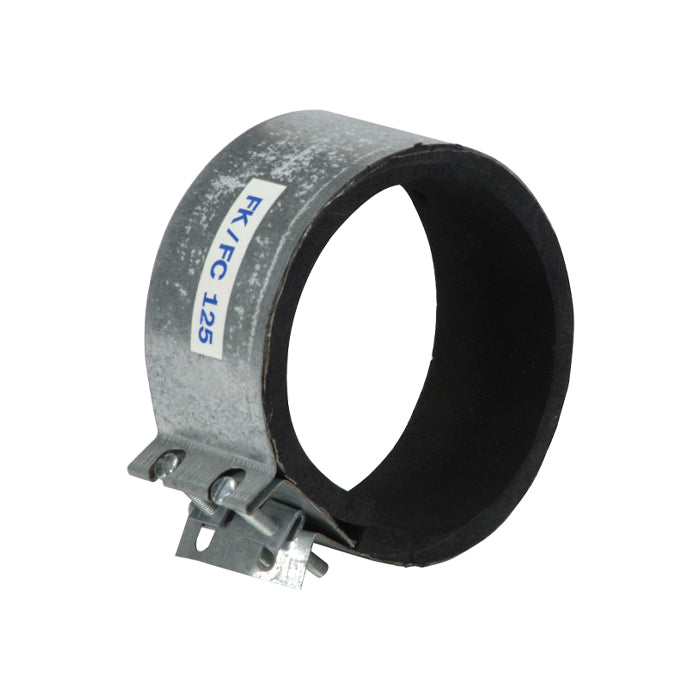
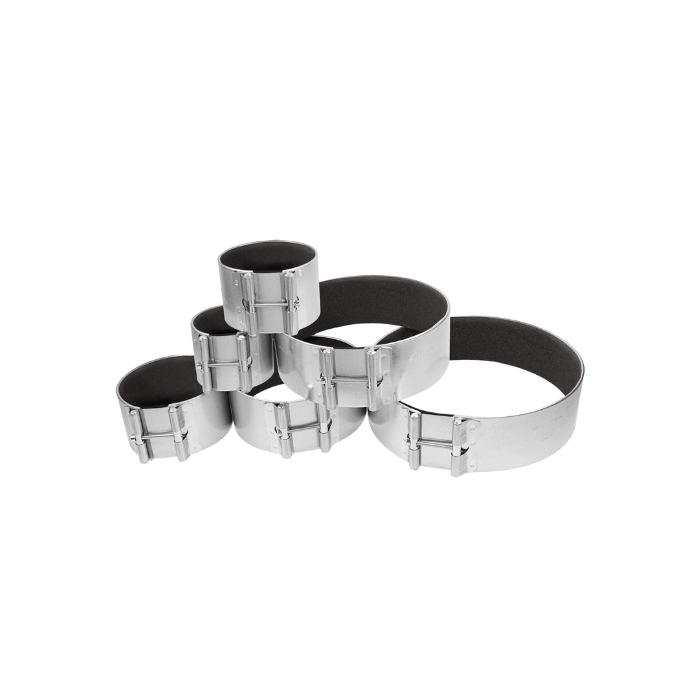
Jubilee clips provide a simple way to tighten flexible ducting around a rigid spigot. Fast clamps use a wider metal band and rubber lining to create a firm connection while helping isolate vibration between rigid components. Choose a clamp size that matches the outside diameter of the connection and tighten it evenly without crushing lightweight ducting.
Straight connectors and wall flanges
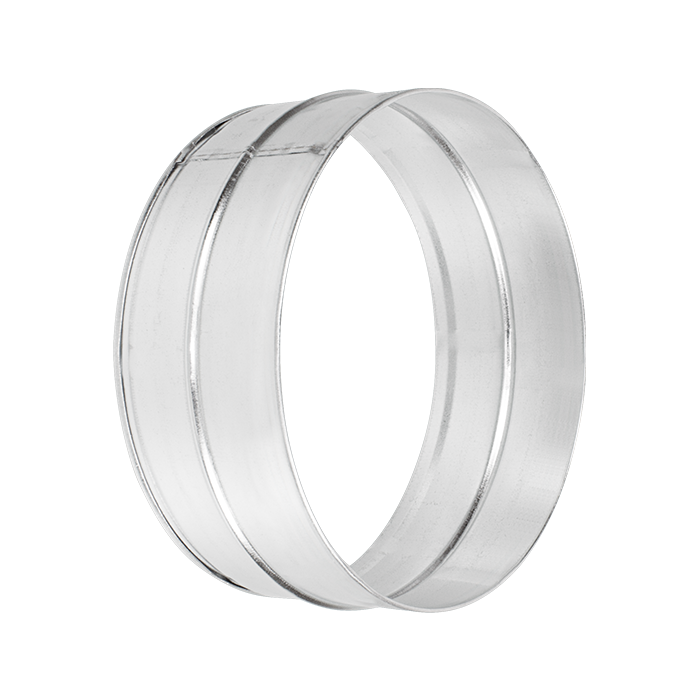
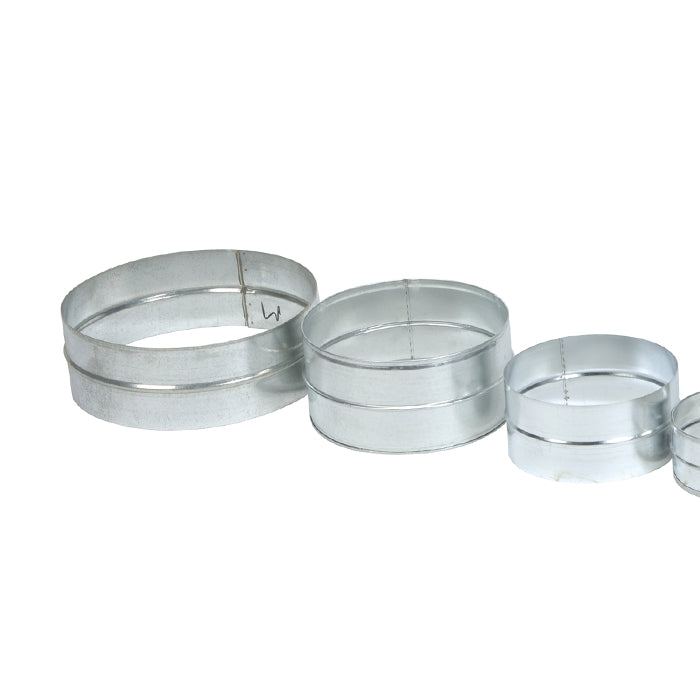
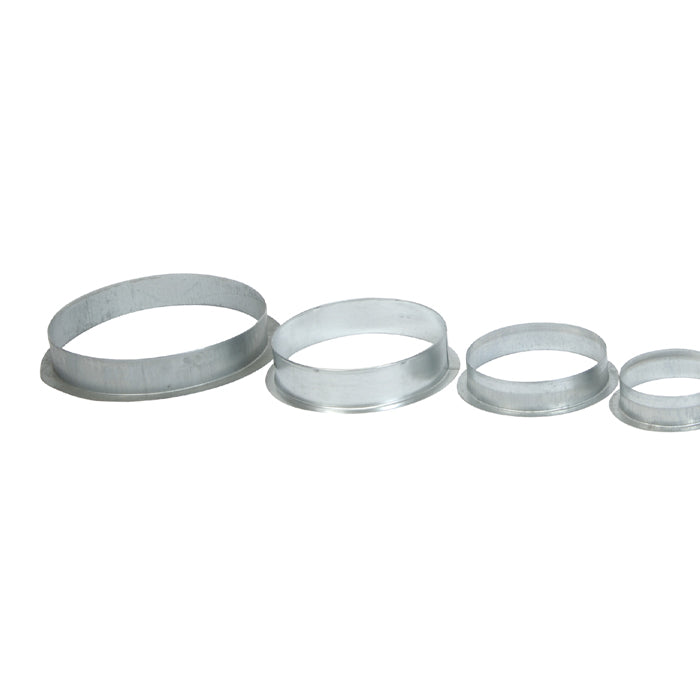
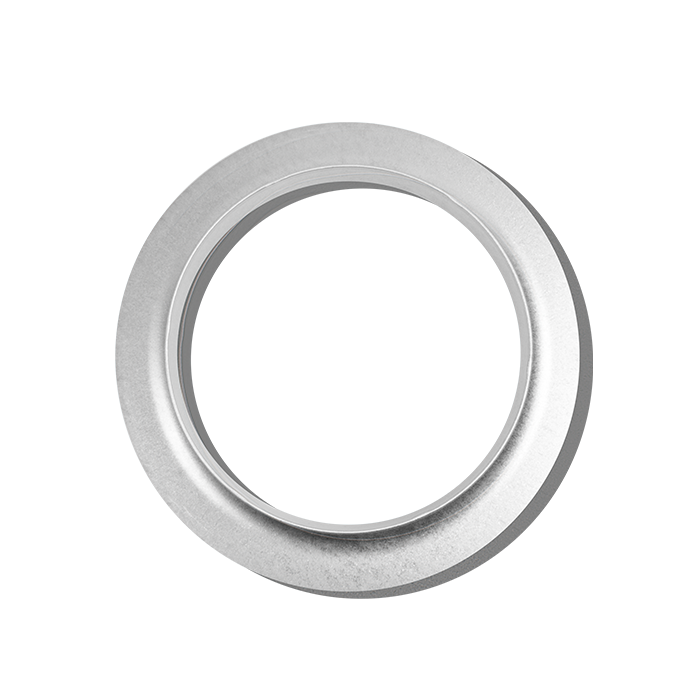
A straight connector joins two lengths of the same nominal duct diameter. A wall flange provides a fixed circular connection at a wall, panel or air outlet. Both create a rigid surface over which flexible ducting can be secured with an appropriate clip or clamp.
Reducers
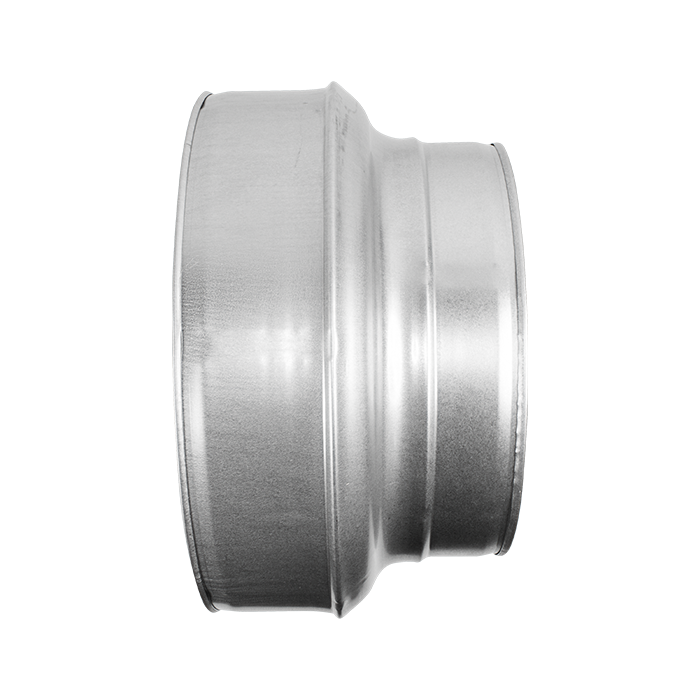
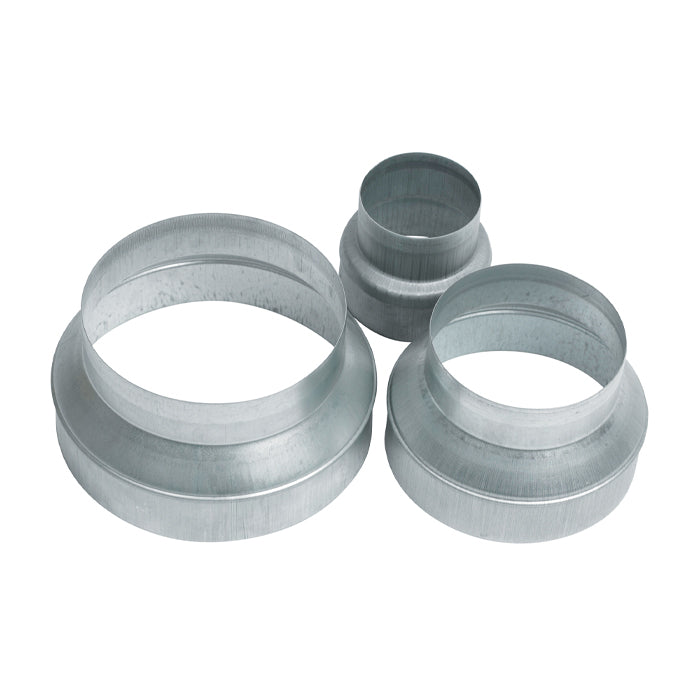
A reducer connects two different duct diameters. It can solve a compatibility problem, but reducing the air path also increases resistance and may raise air velocity and noise. Keep the fan, filter and ducting at one diameter where possible, and use a reducer only where the equipment or route makes it necessary.
Tee pieces, Y pieces and back-draught shutters
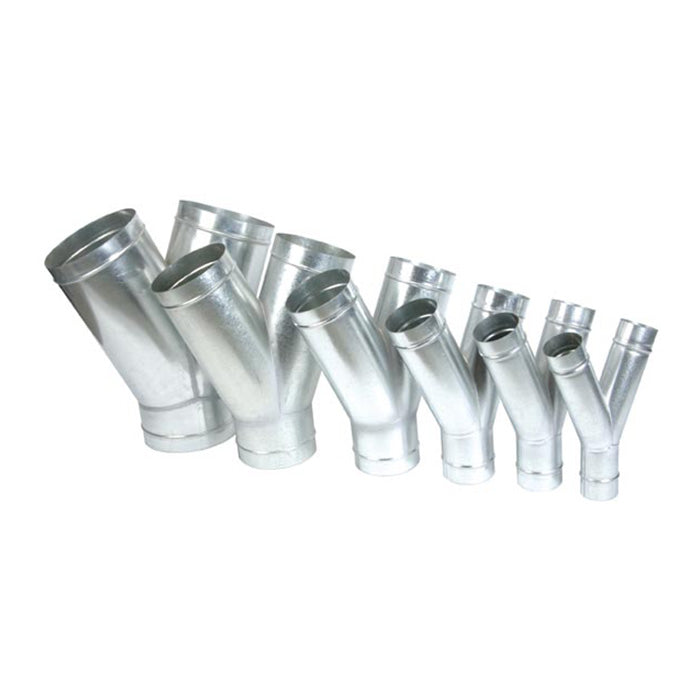
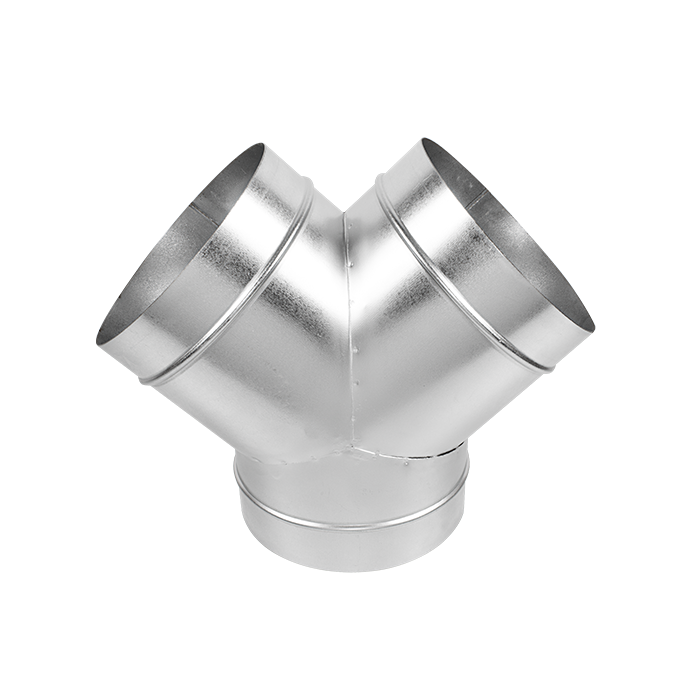
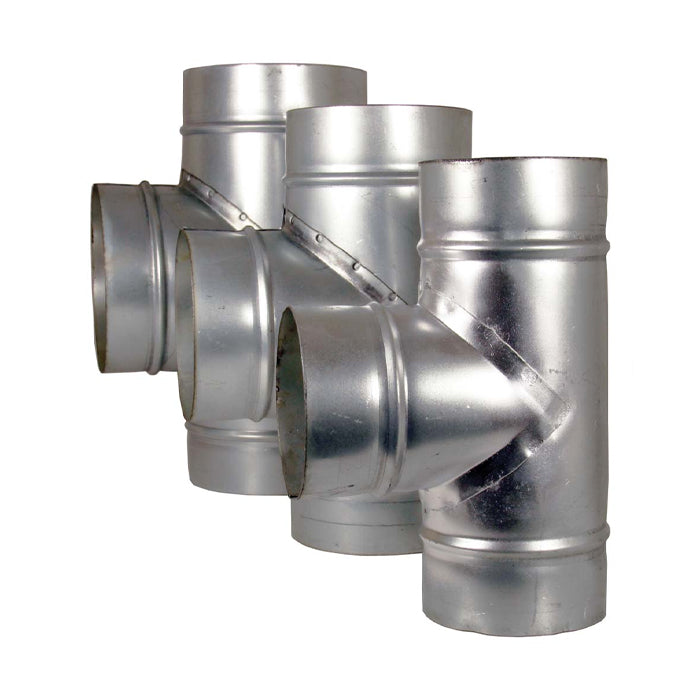
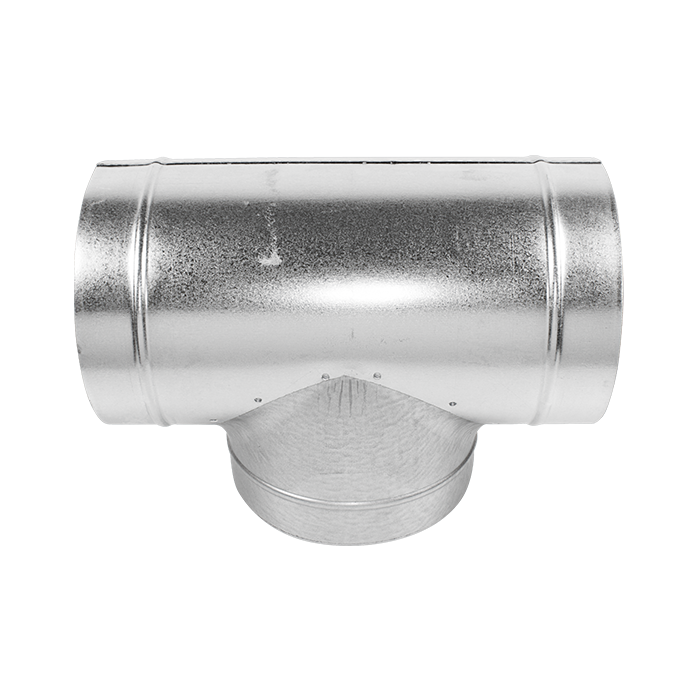
Tee and Y fittings split or combine airflow paths. A Y piece generally provides a smoother change of direction than a right-angle branch, but any junction adds resistance and needs to be included when assessing fan capacity. A correctly oriented back-draught shutter helps limit reverse airflow when the fan is not operating. Check that the chosen fitting suits the direction, diameter and duty of the system.
How to choose the right ducting
Match the connection diameter
Check the spigot diameter on the fan, carbon filter, silencer, air-cooled reflector or outlet. Common ventilation sizes include 100mm, 125mm, 150mm, 200mm, 250mm and 315mm, while selected products may be listed in inches. Use one diameter throughout the route where practical and do not assume similarly named sizes will fit without checking the specification.
Plan the route and length
Measure the intended route rather than only the straight-line distance, then allow enough material for connections and gentle bends. Avoid excessive spare length: every additional metre and change of direction adds resistance. Position equipment so the ducting is not stretched, crushed or forced into a tight radius.
Consider airflow resistance
Published fan airflow is often measured under specific test conditions. A carbon filter, duct length, bends, reducers and grilles all create static pressure that lowers delivered airflow. If the installation has a long or complex route, compare the fan's performance data at pressure rather than relying only on its maximum free-air figure.
Choose for noise and location
Air velocity, turbulence, fan vibration and hard surfaces can all contribute to noise. Acoustic ducting may help with sound travelling along the route, while rubber-lined clamps and suitable fan supports can reduce transferred vibration. The best result normally comes from combining sensible duct diameter, smooth routing and secure installation.
Installing grow room ducting
- Plan before cutting: position the fan, filter and outlet, then mark the shortest practical route with gentle bends.
- Check airflow direction: follow the arrows on fans and directional fittings such as back-draught shutters.
- Extend flexible ducting: keep it reasonably taut to reduce internal corrugation without putting strain on the joints.
- Secure each connection: slide the ducting fully over the spigot and fit a correctly sized clip or clamp.
- Seal air leaks: use suitable foil ventilation tape where required, without obstructing the air path.
- Support the route: prevent long sections from sagging, crushing or placing their weight on equipment connections.
- Test the system: check for leaks, vibration, loose fittings and restricted sections after switching the fan on.
Keep electrical equipment isolated from water and follow the instructions supplied with every fan, controller and filter. Do not allow flexible ducting or improvised supports to carry the weight of a fan or carbon filter.
Complete your ventilation setup
Pair the correct ducting with one of our extraction and intake fans and a compatible carbon filter. If you prefer a matched package, compare our complete extraction kits. A suitable fan speed controller can provide manual or environmental control when it is compatible with the selected fan motor.
Why buy ducting and accessories from Holland Horticulture?
Established in 1996, Holland Horticulture supplies ventilation components for compact grow tents, home horticultural spaces and larger installations. Our range makes it easier to source compatible ducting, clamps and metal fittings alongside fans and carbon filters, supported by practical advice, UK delivery and Click & Collect.
Grow room ducting FAQs
What size ducting do I need?
Start with the connection diameter of the fan and carbon filter. Use that diameter throughout the route where possible. If the components use different sizes, check their airflow compatibility before adding a correctly sized reducer.
What is the difference between aluminium and acoustic ducting?
Standard aluminium ducting is lightweight, flexible and economical. Acoustic ducting adds insulation around the inner air path to help reduce sound transmission, but it is bulkier and needs more installation space. Combi ducting adds a protective outer layer but is not necessarily acoustically insulated.
How do I attach ducting to a fan or filter?
Slide the flexible ducting fully over the equipment spigot, secure it with a correctly sized jubilee clip or clamp, and seal the joint with suitable ventilation tape if required. Support the equipment separately so its weight is not carried by the ducting.
Can I use a reducer on an extraction system?
Yes, provided the sizes are correct and the connected equipment remains compatible. A reducer creates additional resistance, and stepping down to a smaller diameter can increase velocity and noise, so maintaining one diameter is preferable where practical.
Does flexible ducting reduce fan airflow?
Every duct run adds some resistance. Long lengths, compressed corrugations, sharp bends, branches and undersized fittings increase the loss. Keeping the route short, extended and gently curved helps the fan deliver closer to its intended performance.
When should ducting be replaced?
Inspect flexible ducting periodically and replace it if it is torn, badly crushed, contaminated beyond safe cleaning or no longer forms secure, airtight connections. Also check clamps and rigid fittings for looseness, damage or corrosion appropriate to the installation environment.