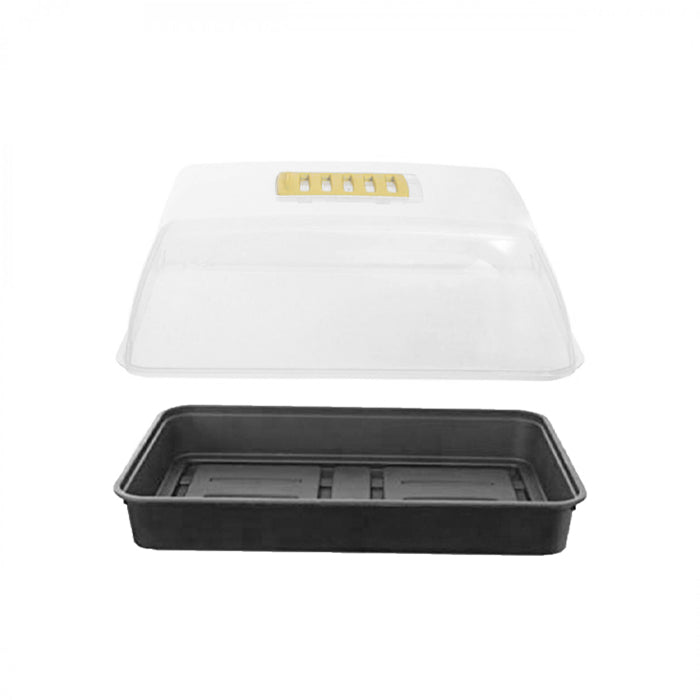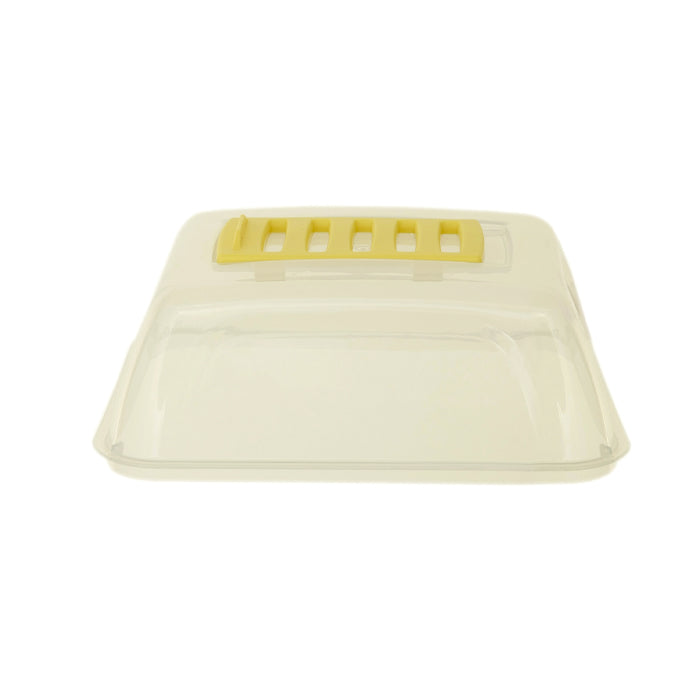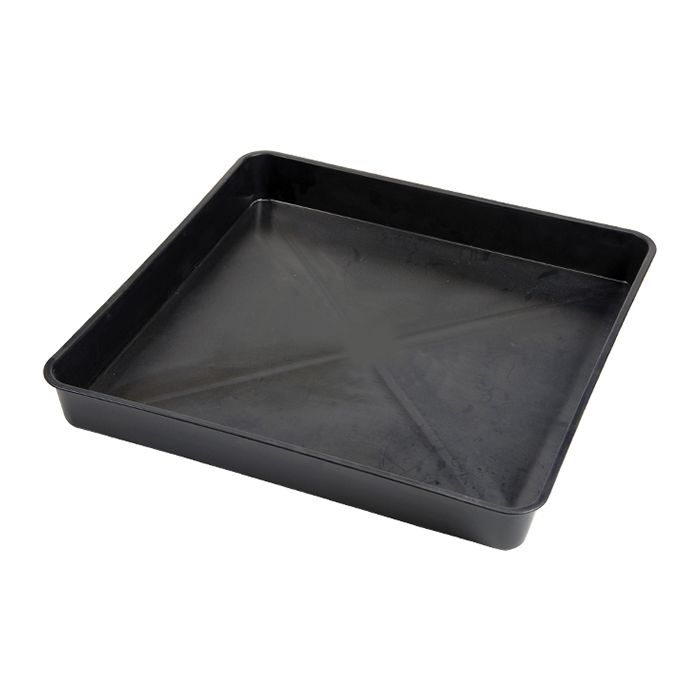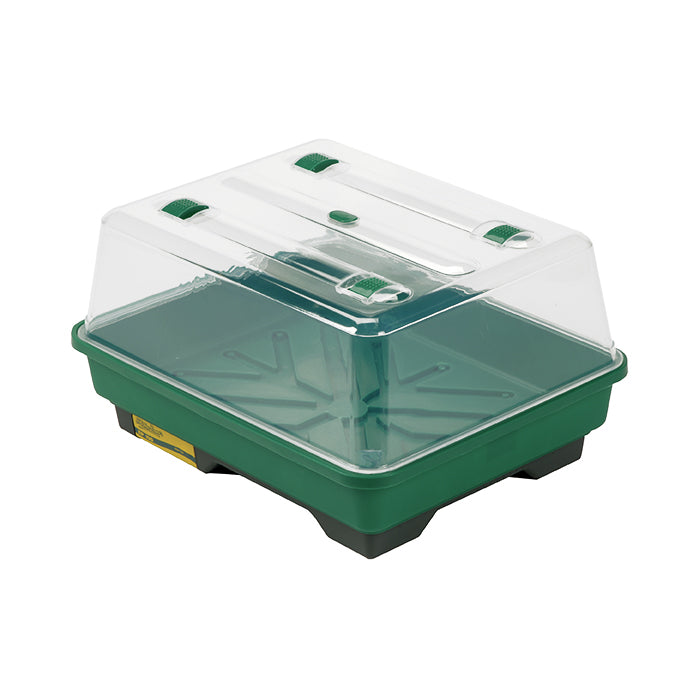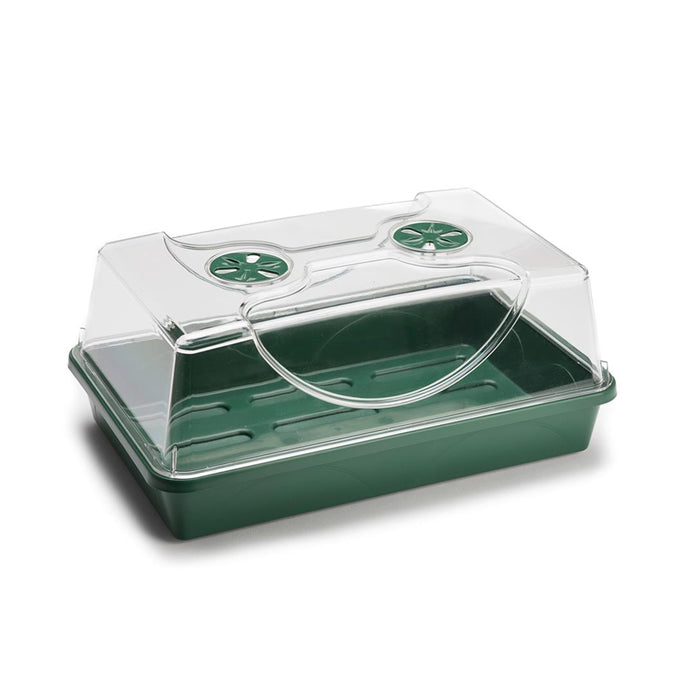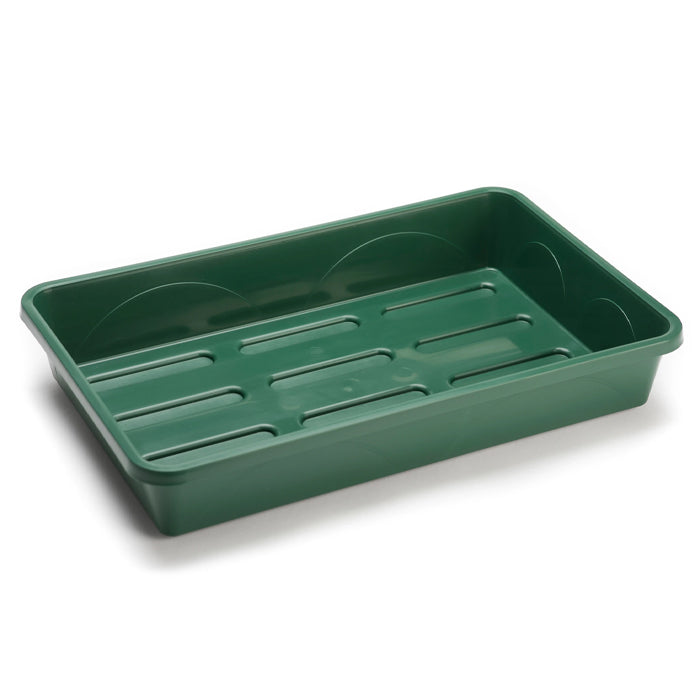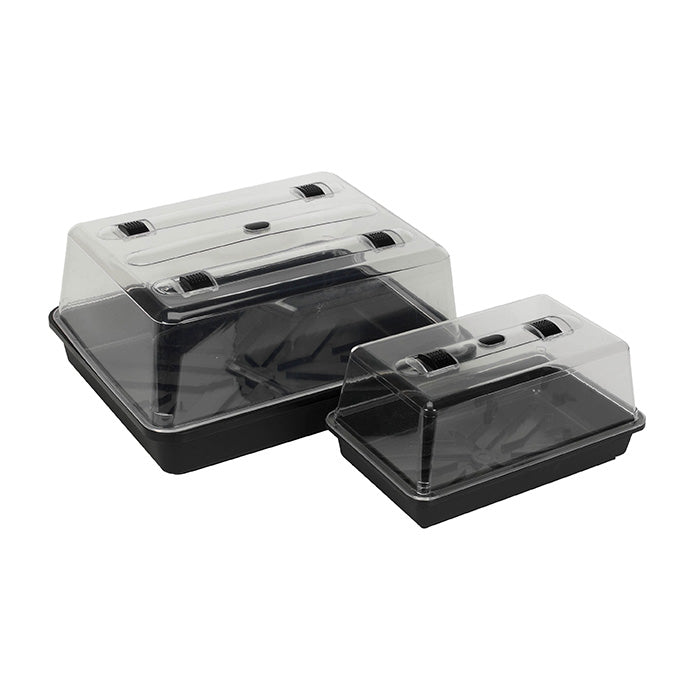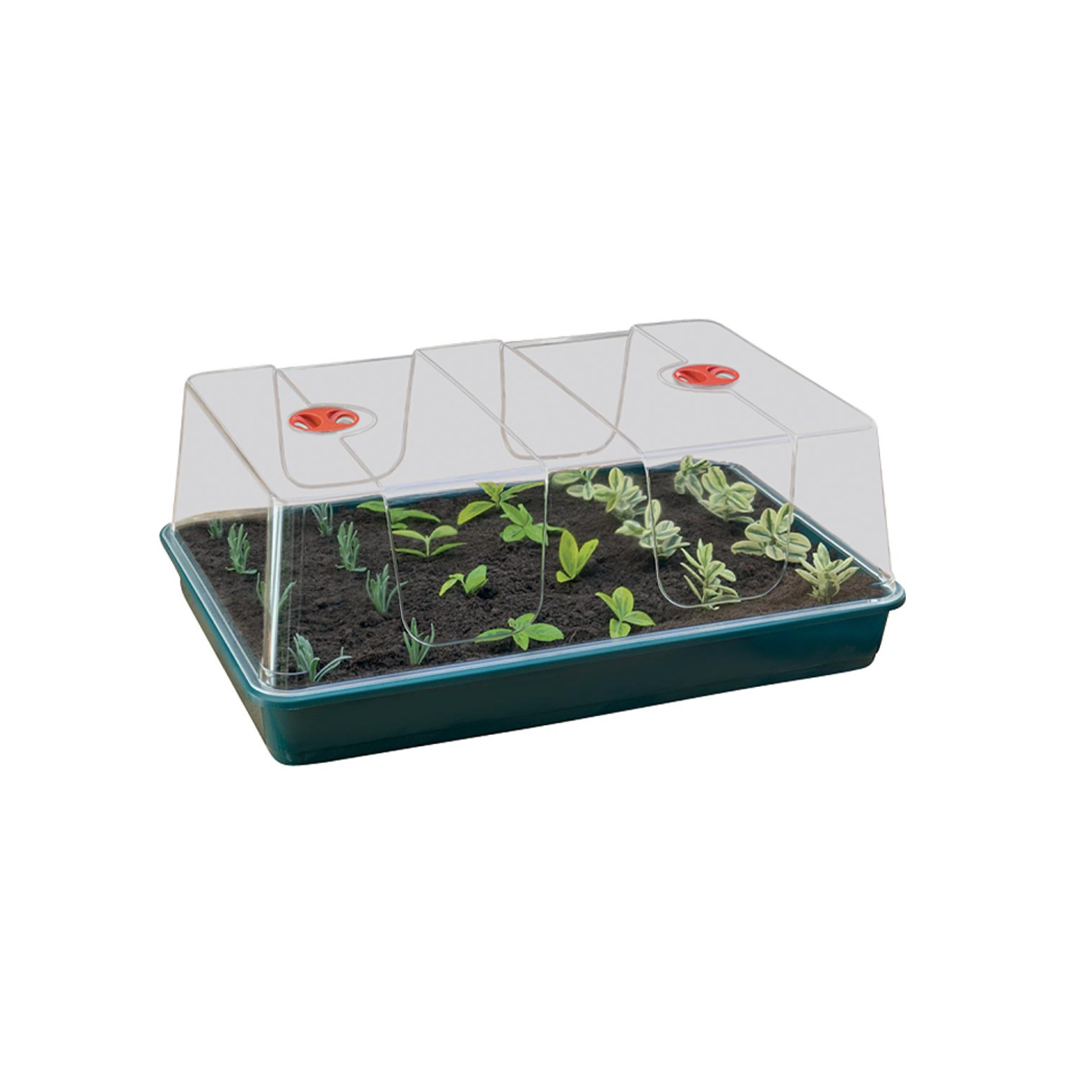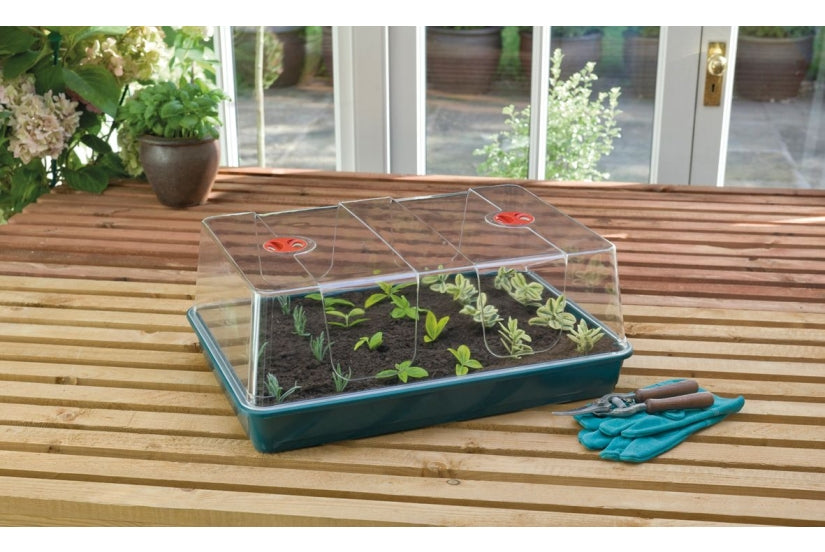
Shop propagators, trays and heat mats for starting seeds, rooting cuttings and caring for young plants. Choose heated or unheated propagators, clear humidity domes, seedling trays, thermostatically controlled heat mats and useful sizes for home or professional propagation areas.
A well-matched setup helps you manage root-zone warmth, moisture, humidity and ventilation while delicate plants establish. Compare the available footprint, dome height, heat source and level of temperature control before choosing equipment for your crop and growing space.
Propagators, trays and heat mats for seeds and cuttings
Propagation equipment creates a smaller, more manageable environment around seeds, cuttings and seedlings. A clear lid reduces moisture loss and shields delicate plants from rapid changes in the surrounding room, while a tray supports the growing media and contains controlled watering. Where the room is too cool, a heated propagator or separate heat mat can provide gentle warmth beneath the root zone.
A propagator does not automatically regulate every environmental factor. Light, air exchange, media moisture and temperature still need regular attention. Select equipment around the species being propagated, the method, the room conditions and the manufacturer’s operating instructions rather than assuming one setting suits every plant.
Types of propagator and heating equipment
Unheated propagators
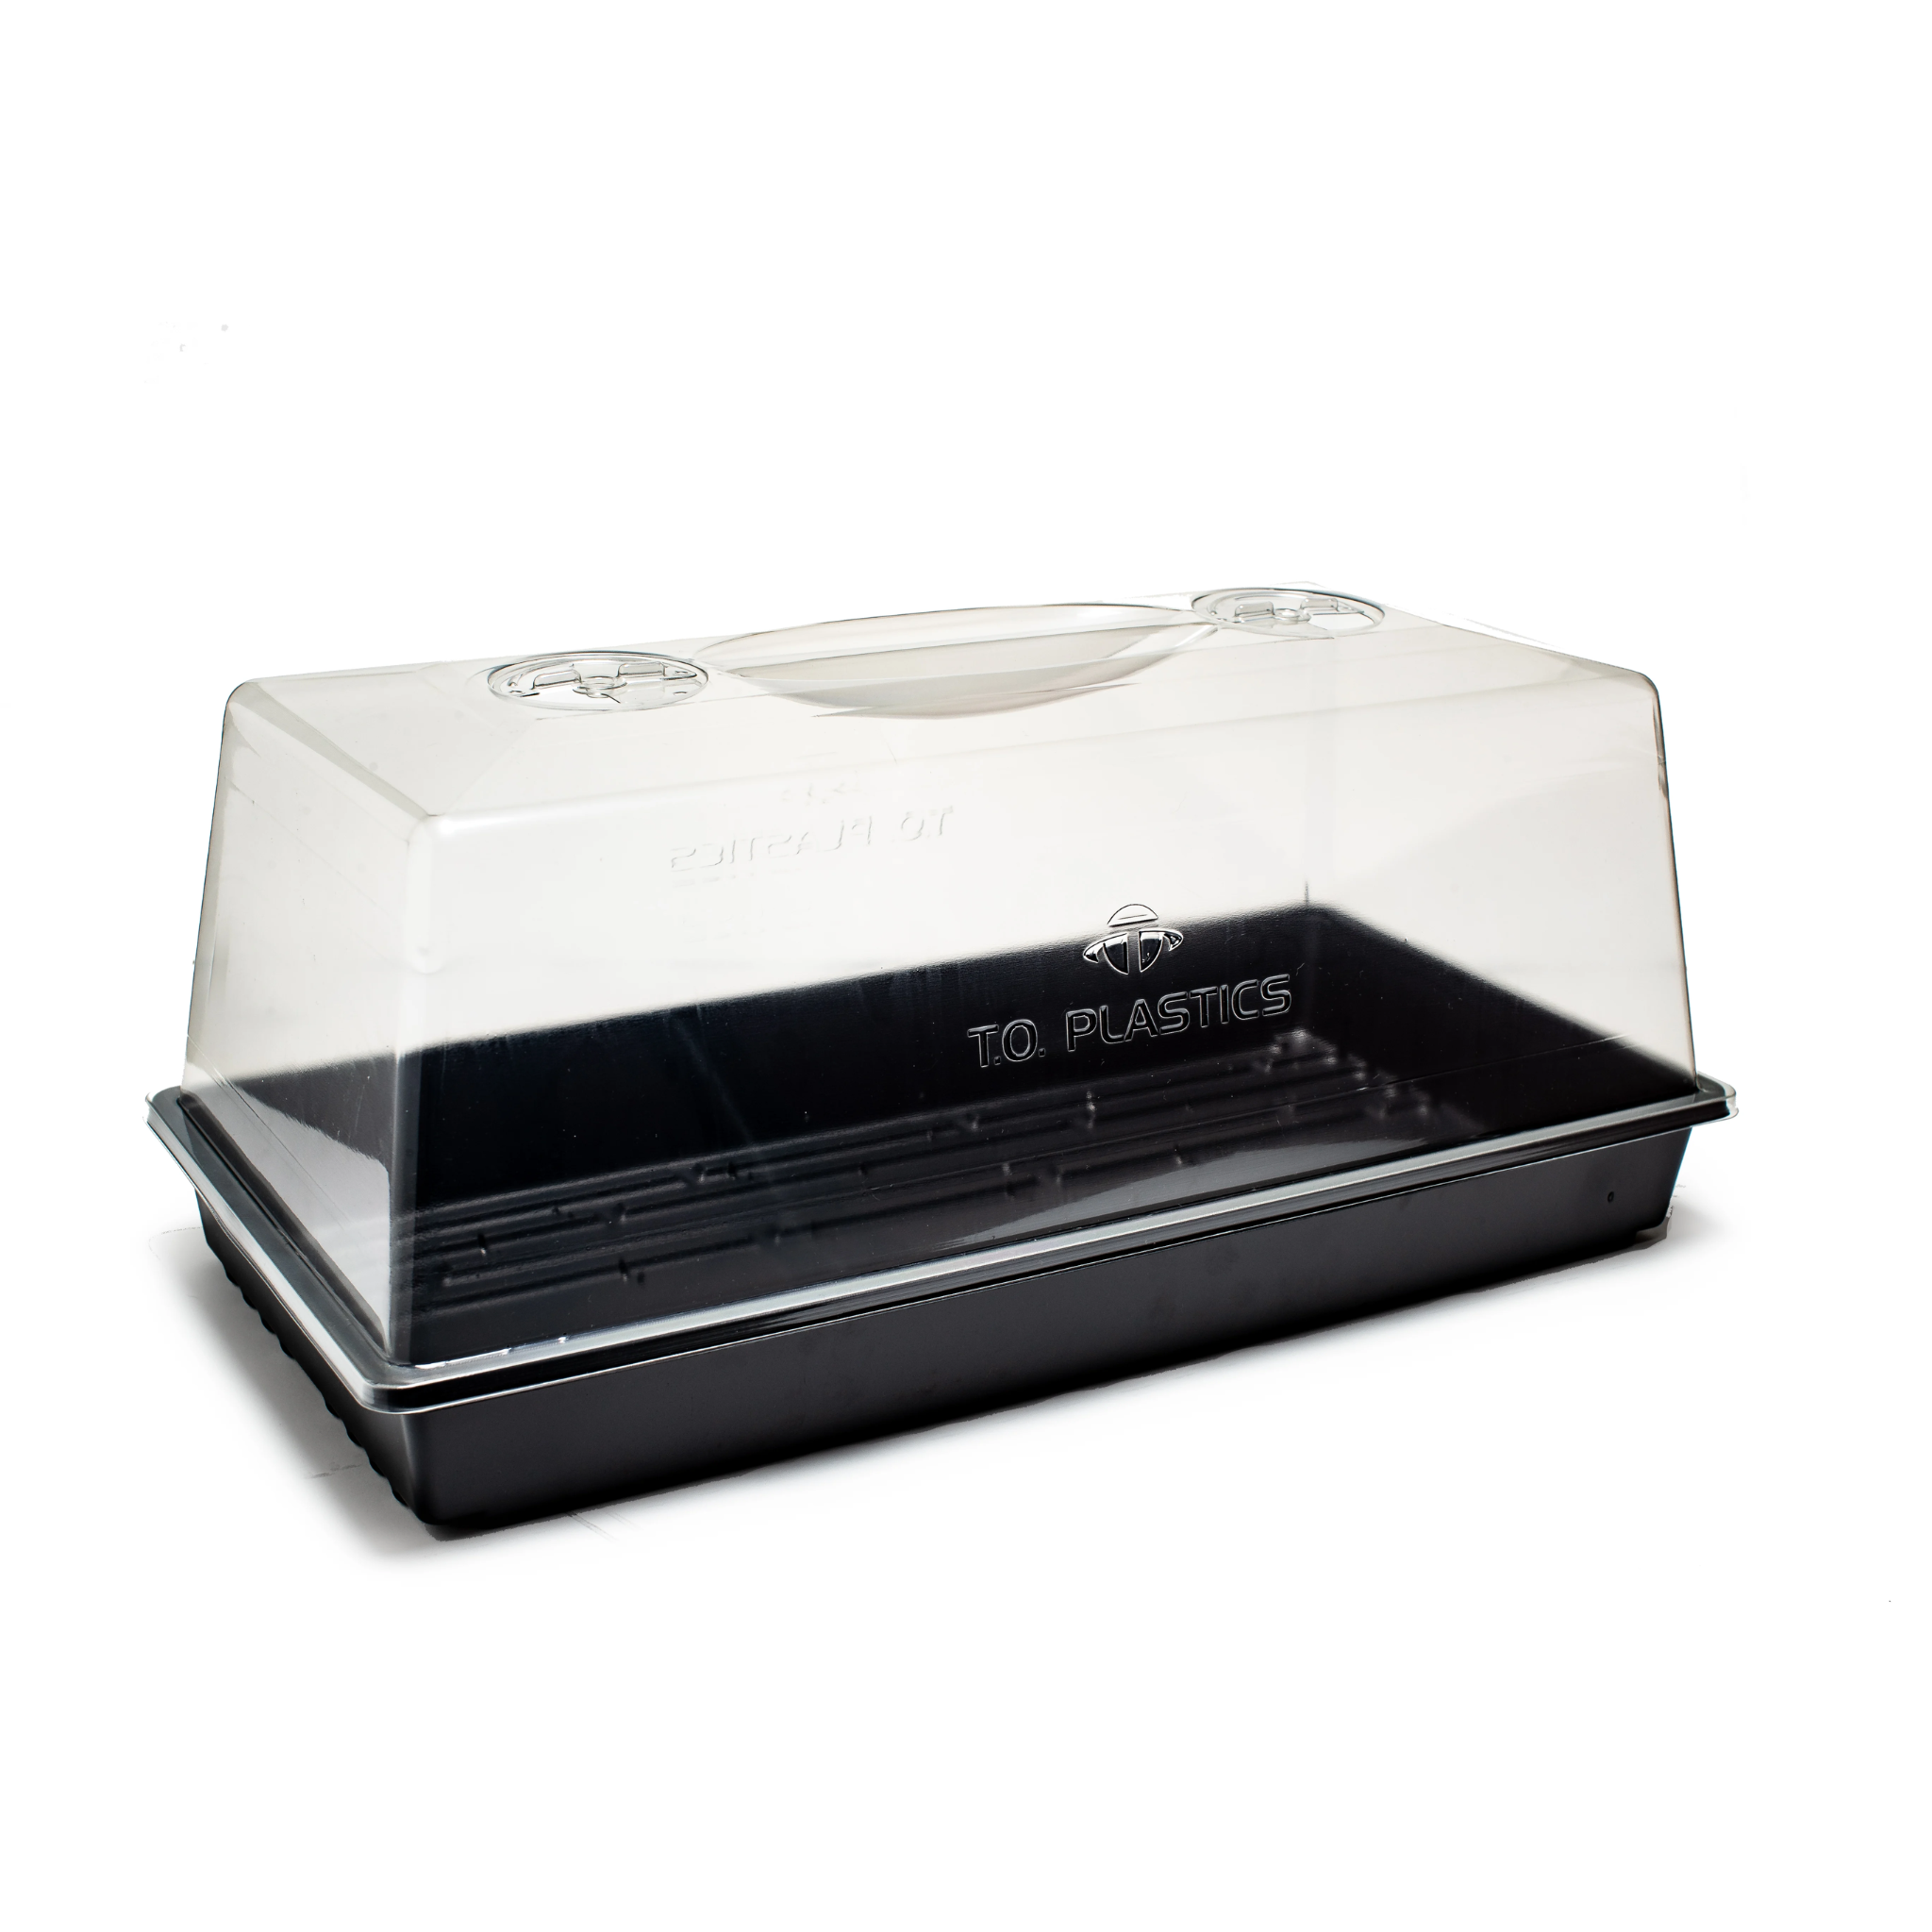
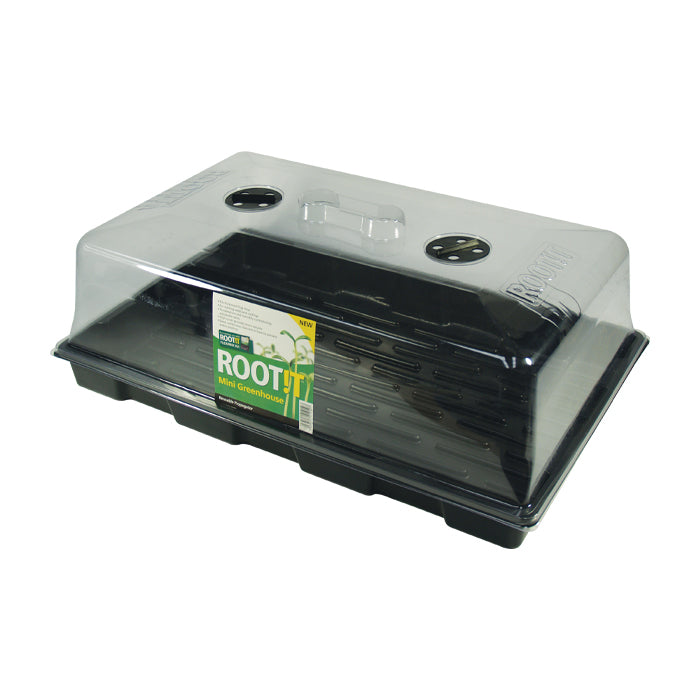
An unheated propagator combines a solid tray with a clear lid or humidity dome. It uses warmth already present in the room or from suitable nearby equipment. This straightforward option can work well in a stable environment where extra root-zone heat is unnecessary. Adjustable vents make it easier to increase air exchange gradually as plants develop.
Heated electric propagators
A heated propagator has an integrated base heater designed to warm the tray area. It is convenient when you want one self-contained unit without placing a separate mat underneath. Models differ in power, heated area and control method; some supply gentle fixed heat, while others may require or include separate control. Read the exact specification before purchase.
Separate seedling heat mats
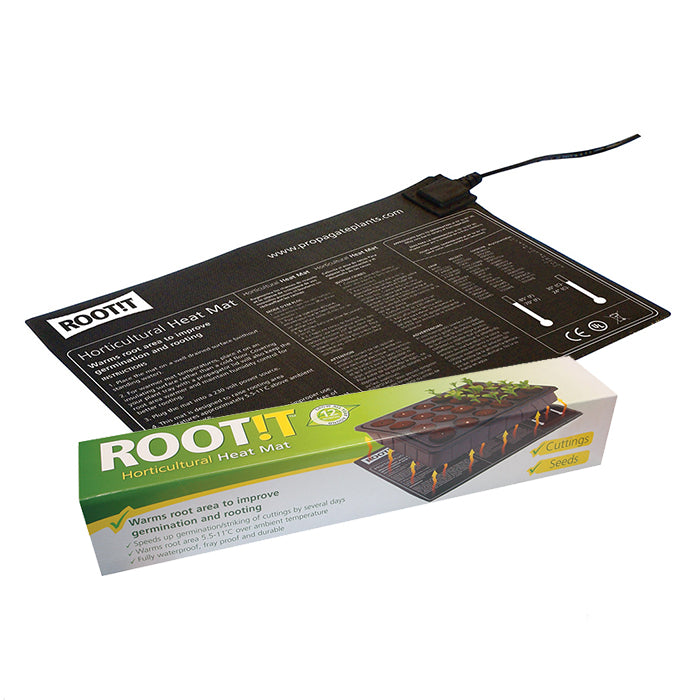
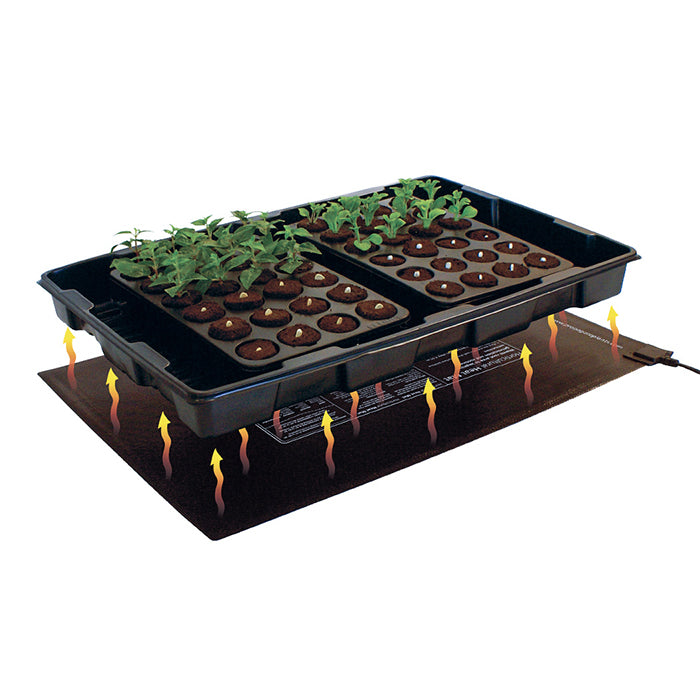
A heat mat sits beneath a suitable tray or propagator and provides bottom heat across its surface. Separate mats offer flexibility because they can be paired with different trays, but their dimensions must match the area being warmed. Never fold, crease, puncture or overlap a mat, and do not cover it in a way the manufacturer prohibits.
Thermostats and controlled heat mats
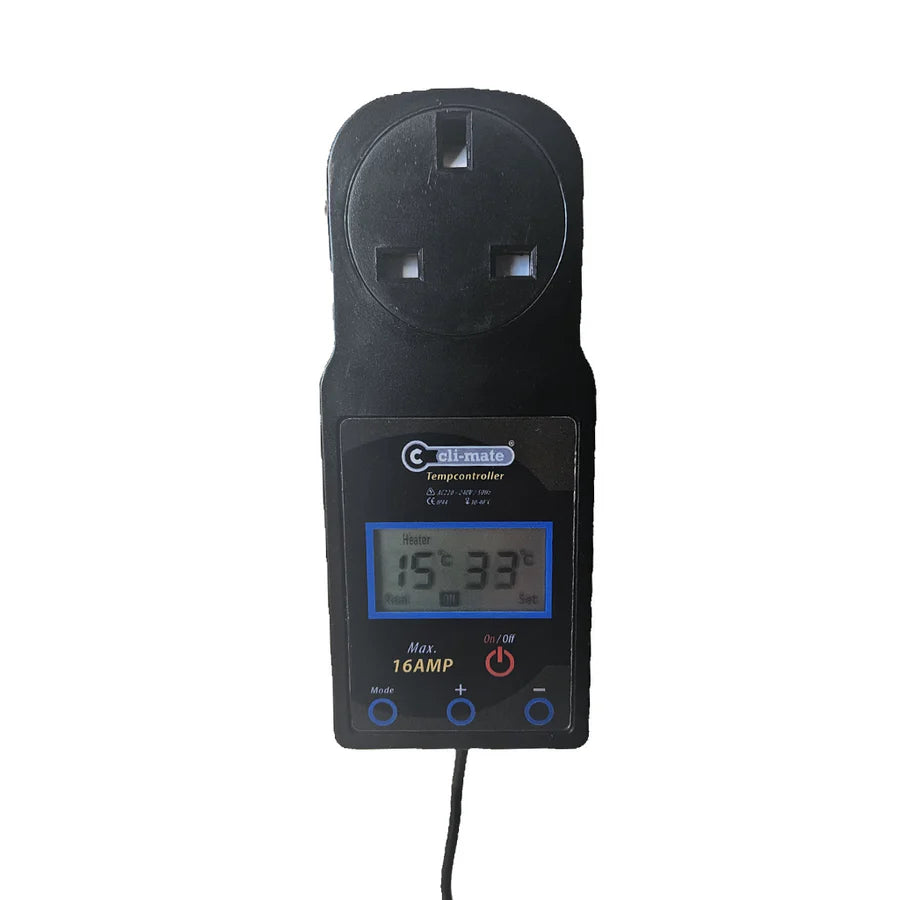
A thermostat switches compatible heating equipment in response to a temperature probe. This can provide more precise control than a mat operating continuously. Probe position has a major effect on the reading, so follow the thermostat and propagator instructions rather than leaving the sensor exposed to room air or placing it where direct heat creates a misleading measurement.
Propagation trays and humidity domes
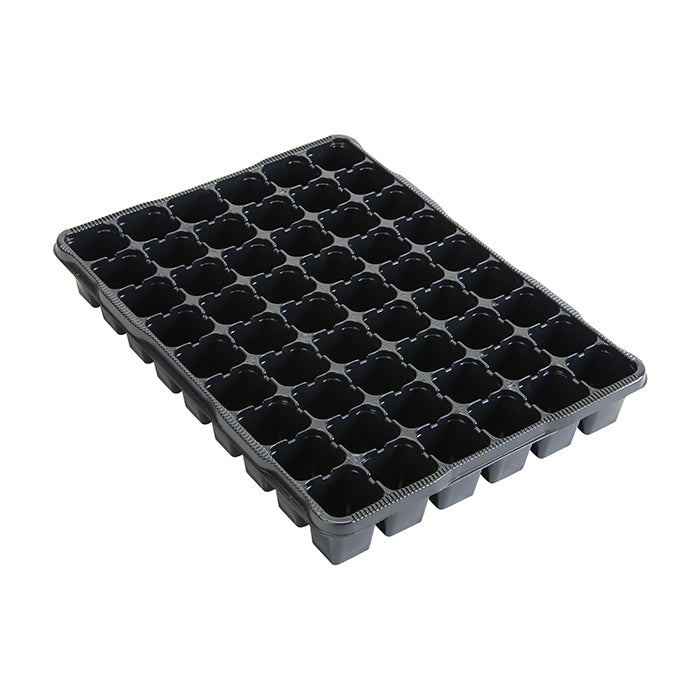
Trays are available with different cell counts, drainage arrangements and footprints. A high dome gives taller cuttings or seedlings more headroom, while a compact lid can suit low plugs and small batches. Check that the tray, insert and lid are compatible rather than relying only on their nominal outer dimensions.
Heated or unheated propagator?
- Room temperature: an unheated unit may be sufficient in a consistently warm space; cooler rooms may benefit from controlled bottom heat.
- Level of control: a thermostat-compatible heat mat allows closer management than uncontrolled background warmth.
- Flexibility: separate mats can be used beneath different suitable trays, while an integrated propagator is a compact self-contained option.
- Available space: measure the shelf or tent area and allow space for cables, vents and safe access.
- Crop requirements: germination and rooting temperatures vary, so follow guidance for the exact species.
More heat is not automatically better. Excessive root-zone temperature can dry media quickly and stress developing plants. Use the least intervention needed to keep conditions within the suitable range for the crop, and check the actual root-zone environment rather than relying on room temperature alone.
Choosing the correct size
Measure the available footprint
Measure the usable shelf, bench or tent space before ordering. Include the external dimensions of the lid and tray, not only the internal growing area. Leave enough clearance to operate vents, remove the cover and route electrical cables without trapping or sharply bending them.
Check plug, cube and tray compatibility
Propagation cubes, bonded plugs, Jiffy pellets and loose media require different inserts or cell trays. Our Cutting & Seedling Mediums collection helps you compare media formats. Confirm how the chosen plug will sit in the tray and whether it can be transferred cleanly into the next pot or hydroponic system.
Allow enough dome height
A shallow dome can suit seeds and short plugs, while cuttings or rapidly developing seedlings may need more headroom. Plants should not remain pressed against a wet lid. Select a height that accommodates the expected plant size until the stage when the cover will be removed.
How to set up a propagator
- Clean the tray, lid, inserts and working area before starting.
- Prepare the chosen plugs or media according to the manufacturer’s instructions.
- Arrange the media evenly and allow surplus water to drain where appropriate.
- Insert seeds or prepared cuttings using clean tools and the correct depth for the crop.
- Fit the clear lid and set its vents according to the plants’ current stage.
- Position any approved heat mat flat beneath the tray and place the thermostat probe as instructed.
- Provide suitable propagation lighting and begin monitoring conditions regularly.
Keep labels for different varieties or batches and record the start date, media and settings. Good records make it easier to repeat successful methods and identify whether a later problem began with moisture, heat, hygiene or another change.
Managing humidity and ventilation
A clear lid retains moisture, which can be especially useful for fresh cuttings with limited roots. However, high humidity does not mean the propagator should remain permanently sealed. Stale air, heavy condensation and saturated media can create unsuitable conditions. Use adjustable vents to introduce fresh air and observe how quickly the plants and media respond.
Condensation on the lid shows that moisture is cycling inside the unit, but it is not a precise humidity measurement. A suitable instrument from our Temperature & Humidity collection can provide better information. Position sensors according to their instructions and avoid letting them rest in water.
Using heat mats safely
Place the heat mat on a stable, dry and heat-tolerant surface with the tray positioned as directed by the manufacturer. Keep plugs, sockets, controllers and cable joins away from irrigation water and condensation. Use electrical equipment only within its stated rating and inspect the cable and mat before each propagation cycle.
Do not cut, fold, pierce or tightly roll a heat mat. Avoid trapping the cable beneath equipment or routing it across sharp edges. If a thermostat is used, confirm that the heating load is within its rated capacity. Stop using equipment that shows damage, unusual heat, moisture ingress or inconsistent operation.
Probe placement and temperature monitoring
Temperature can differ between the room, the air under the dome, the tray surface and the interior of the growing media. Place a thermostat probe in the location specified for the system so that it represents the zone being controlled. A probe hanging above the tray may read cooler than the media, while direct contact with the mat can read warmer.
Check conditions at different times of day, particularly after changing the lighting, room heating or ventilation. Do not rely solely on the thermostat’s set value; verify the actual environment with a suitable independent thermometer when accuracy matters.
Watering plugs and seedling media
Propagation media should normally remain evenly moist without becoming saturated. Small plugs hold limited water but also contain limited air, so repeated heavy watering can quickly displace oxygen around developing roots. Check the media itself rather than watering whenever the inside of the lid looks dry.
Use clean water and prepare any mild feed according to the media and plant requirements. Some plugs are inert, while others contain a starter charge. If supplemental nutrition is needed, compare our Propagation Nutrients and avoid combining several feeding programmes without accounting for their total strength.
Lighting a propagation tray
Once seedlings emerge or cuttings require light, provide even coverage across the full tray. Young plants generally need less intensity than an established canopy, but insufficient light can still produce weak, stretched growth. Follow the fixture’s recommended mounting height and observe plant response after every adjustment.
Our Propagation Lights include compact LED and other low-wattage options for trays, shelves and dedicated propagation areas. Keep electrical equipment clear of condensation and ensure that cables and fixtures are installed securely.
Rooting compounds and clean technique
When taking cuttings, use a clean, sharp tool and handle prepared stems carefully. Rooting gels, powders and stimulants have different application methods, so use each one exactly as directed. Never return used product to its original container, because this can introduce contamination.
Browse Rooting Compounds & Stimulants for products intended for early root development. Equipment cleanliness and environmental stability remain important even when a rooting product is used.
When to open or remove the propagator lid
Increase ventilation progressively as seedlings develop or cuttings establish roots. Sudden removal of a high-humidity dome can cause rapid moisture loss and wilting. Begin with controlled vent opening, watch the plants and extend their exposure to the surrounding room gradually.
Remove the lid when the plants can maintain themselves in the surrounding conditions and no longer require the protected environment. Timing depends on the species, root development, room humidity and plant size rather than a fixed number of days.
Cleaning between propagation cycles
- Remove old roots, leaves and media after each batch.
- Wash reusable trays and lids using a method compatible with their materials.
- Clean tools before moving between plants or batches.
- Inspect vents, corners and tray channels where debris can collect.
- Allow cleaned equipment to dry before storage or reuse.
- Discard damaged inserts or equipment that can no longer be cleaned effectively.
Why buy propagation equipment from Holland Horticulture?
Established in 1996, Holland Horticulture supplies propagators, trays, heat mats, rooting media, propagation lighting and nutrients to beginners, experienced indoor gardeners and professional growers. Our range includes recognised products from ROOT!T, Garland, Kaizen, AC Infinity and other established manufacturers, supported by experienced advice, UK delivery and Click & Collect.
Return to our Propagation hub to compare equipment for lighting, rooting, media, tents and environmental control.
Propagators, trays and heat mats FAQs
Do I need a heated propagator?
Only when the existing root-zone temperature is below the suitable range for the crop. A stable warm room may not need extra heat, while a cooler area can benefit from controlled bottom warmth.
Can I put any propagator on a heat mat?
Use only trays and propagators suitable for the chosen mat and follow both manufacturers’ instructions. Match the footprint, keep the mat flat and confirm that the surface and electrical setup are appropriate.
Should a heat mat use a thermostat?
A compatible thermostat can provide closer control and reduce unnecessary heating, especially where room conditions change. Check the mat’s design, wattage and manufacturer recommendations before connecting it.
Should propagator vents be open or closed?
The correct position depends on the plant stage, moisture level and surrounding conditions. Fresh cuttings may begin with restricted ventilation, but air exchange should normally increase gradually as roots and foliage establish.
Why is there excessive condensation inside my propagator?
Heavy condensation can result from high moisture, limited ventilation or temperature differences between the lid and room. Check the media, increase ventilation carefully and measure the environment rather than judging humidity from droplets alone.
How often should I water a propagation tray?
Water according to the moisture in the plugs or media, not a fixed schedule. Tray size, heat, light, ventilation and root development all affect drying speed.
When should seedlings leave the propagator?
Move them on when they are sufficiently established for the next container and can tolerate the surrounding humidity and temperature. Acclimatise them progressively rather than removing the lid and transplanting abruptly.