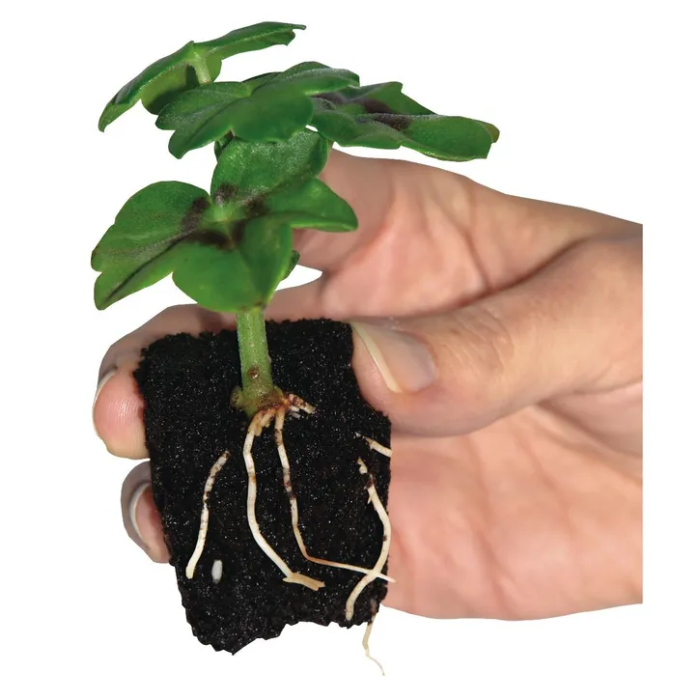
Shop propagation tools and accessories for taking plant cuttings, preparing seedling trays and monitoring young plants. Choose sharp scalpels, empty propagation trays, humidity and temperature monitors, replacement domes and controlled heat-mat equipment.
Small accessories can make propagation cleaner, easier to organise and more repeatable. Select tools around the cutting or germination method, tray format, growing medium and existing environment, then follow the individual product instructions for safe use and cleaning.
Propagation tools and accessories for seedlings and cuttings
Successful propagation depends on clean technique, suitable media and stable environmental conditions. Accessories such as sharp cutting tools, correctly sized trays and reliable monitors help you prepare each batch consistently and identify changes before they become larger problems.
This collection focuses on supporting equipment rather than complete lighting, tent or nutrient systems. For a wider overview, return to our Propagation hub and compare every stage of the setup.
Essential propagation accessories
Scalpels and cutting tools
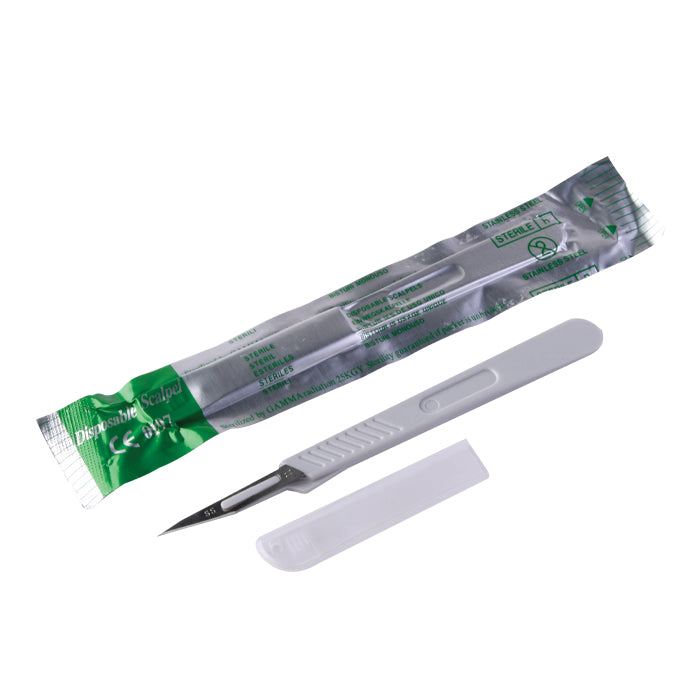
A sharp scalpel makes a clean cut without crushing delicate stem tissue. Use a tool intended for the job and handle it carefully. A blunt, damaged or contaminated blade can make the process less precise and may transfer material between plants or batches.
Disposable and reusable tools require different handling. Follow the product instructions, use suitable protective equipment and place used blades in an appropriate sharps container. Never leave a scalpel loose on a tray, bench or inside a propagation tent.
Empty propagation trays
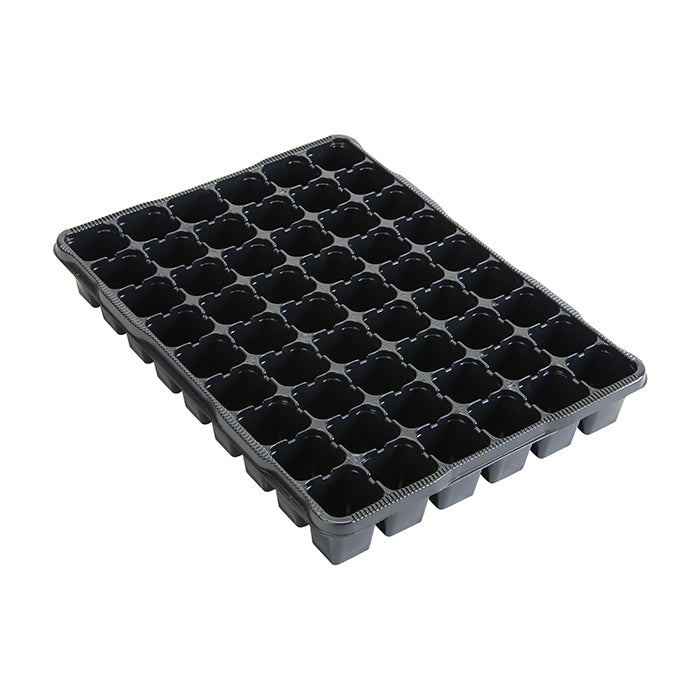
Empty cell trays let you choose a compatible plug, cube or growing medium instead of buying a pre-filled format. Compare the cell count, cell dimensions, drainage arrangement and outer tray size. A higher cell count increases capacity but gives each plug less space.
Temperature and humidity monitors
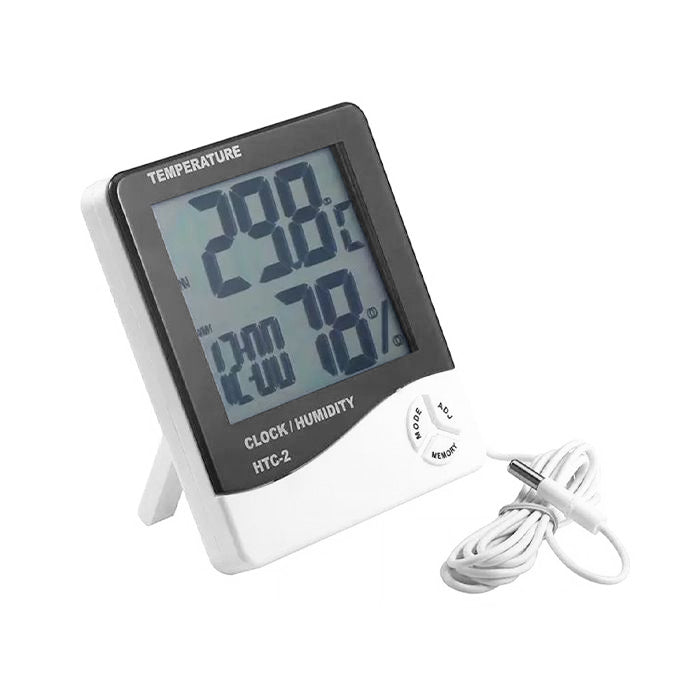
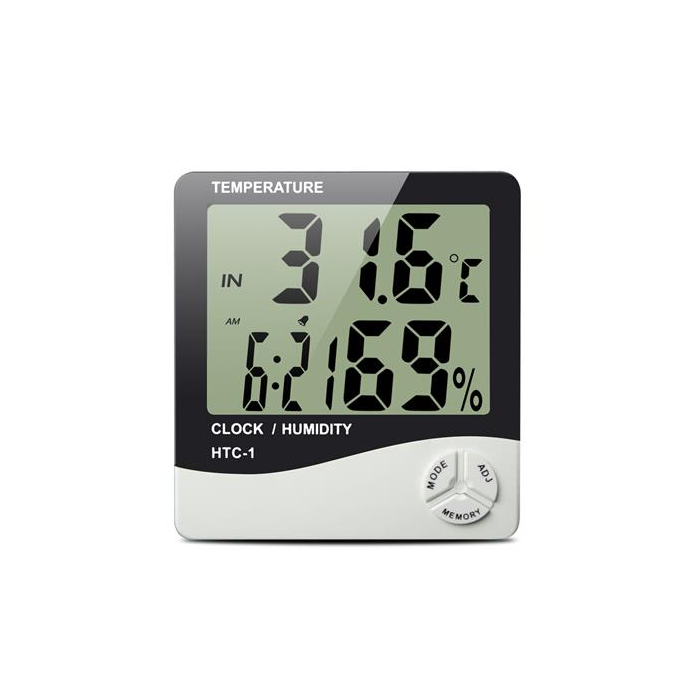
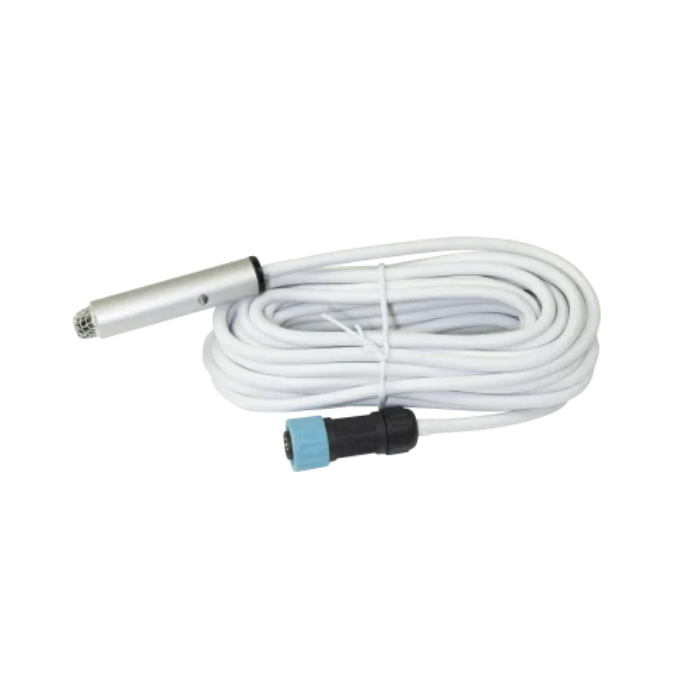
A digital thermometer and hygrometer gives more useful information than judging humidity from condensation alone. Some models use an external probe, while others measure only around the main display. Check the sensor type, temperature range and memory functions before deciding where it should be installed.
Replacement domes and propagator parts
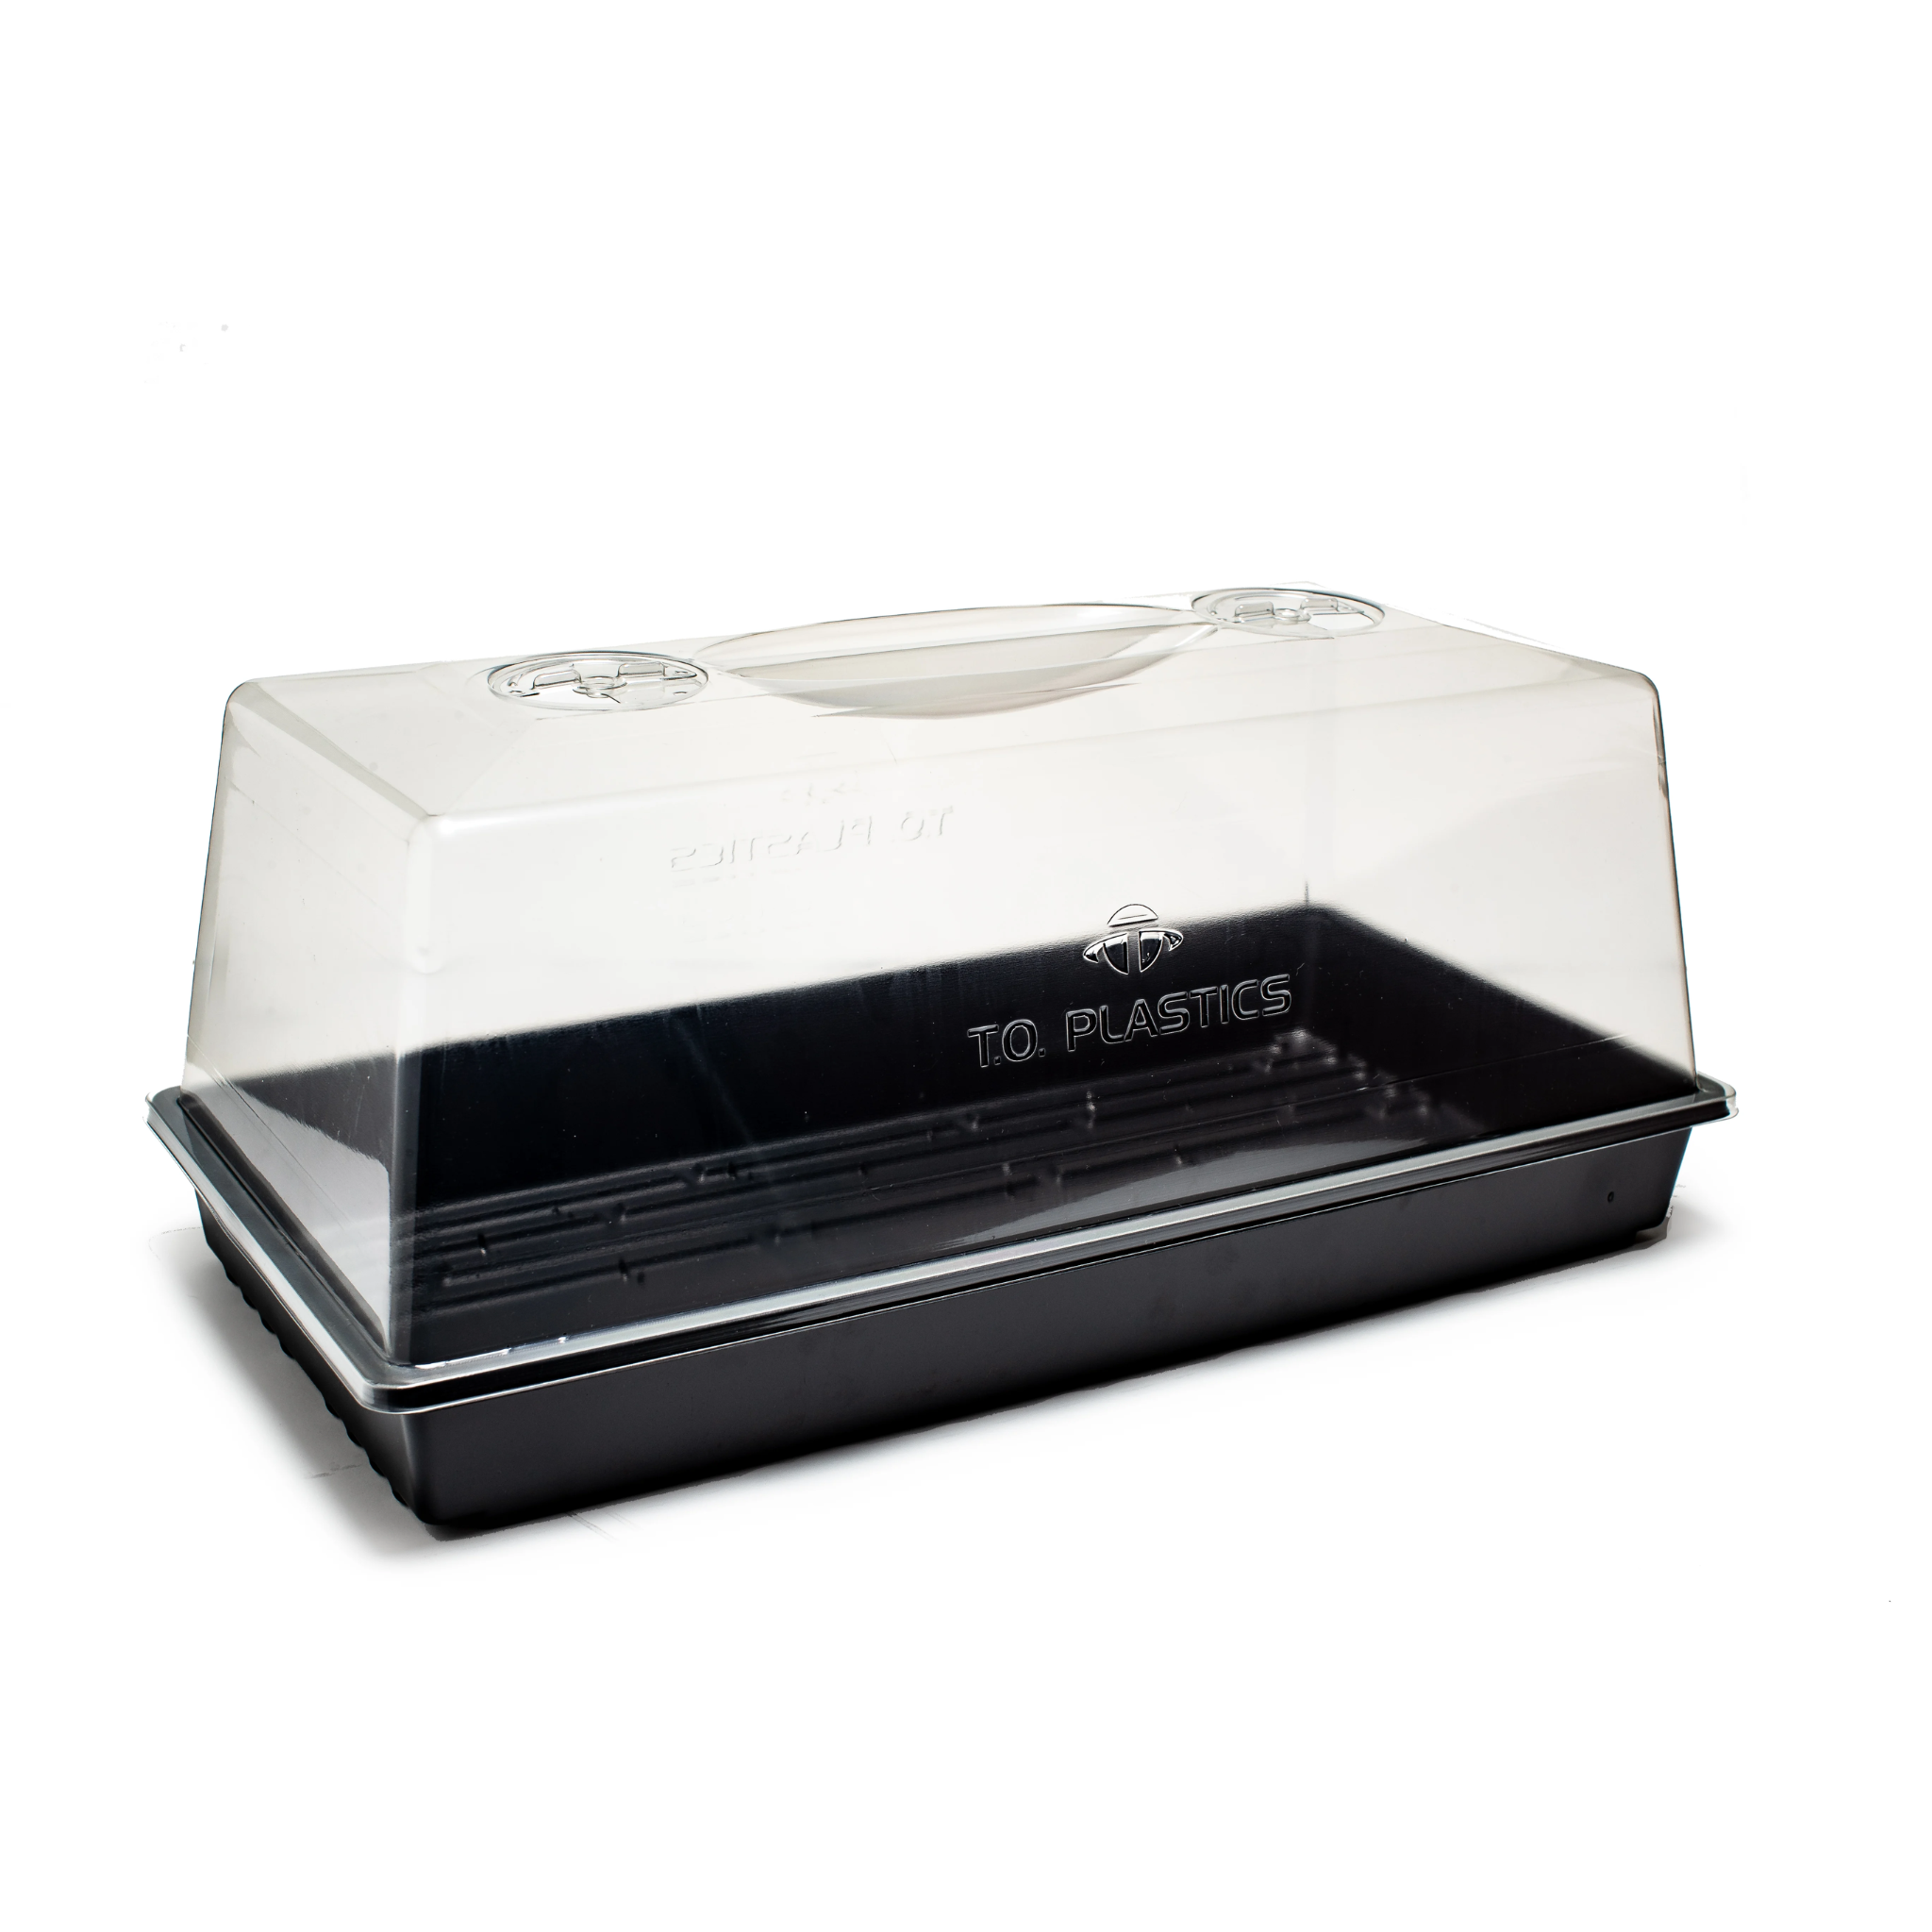
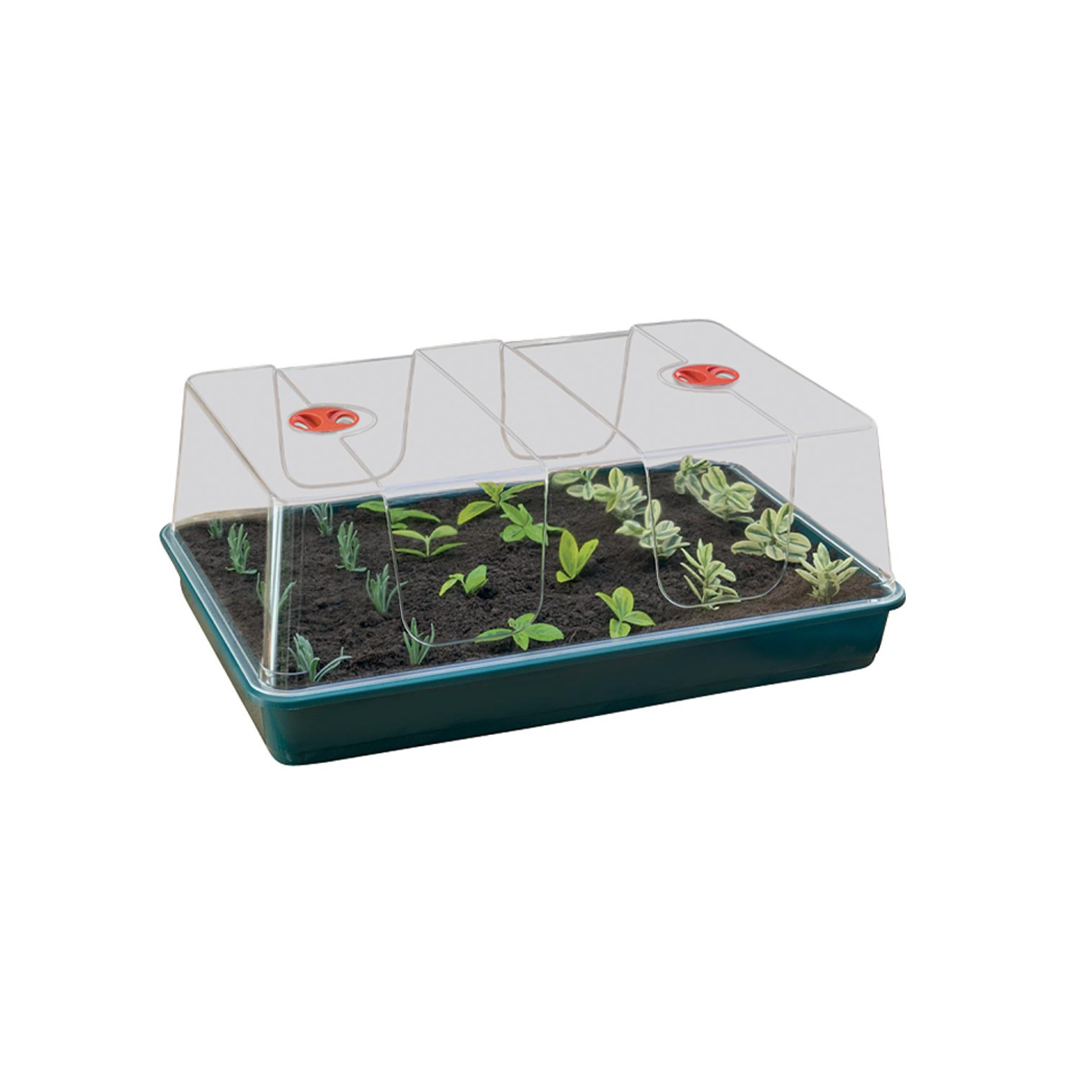
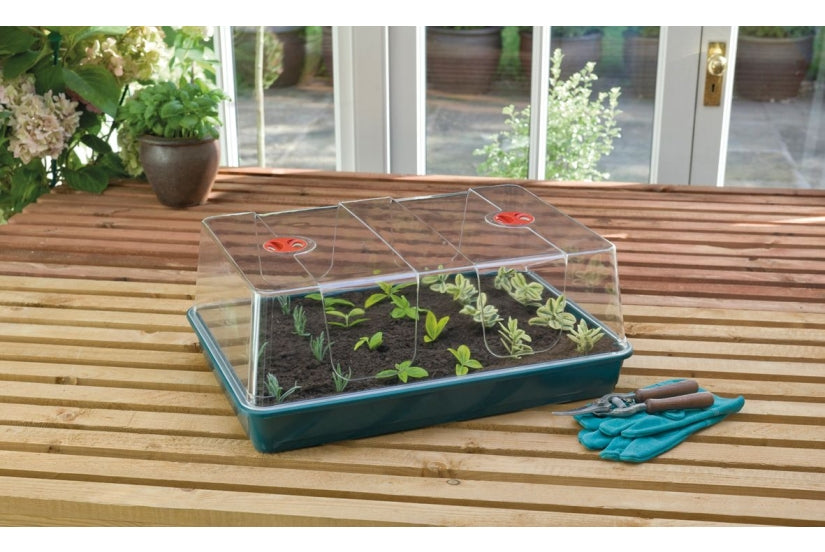
A clear dome reduces rapid moisture loss around fresh cuttings and emerging seedlings. Replacement trays and vented lids can also extend the useful life of an existing propagator. Confirm the exact footprint and part compatibility rather than relying on a general size description.
Seedling heat mats and controllers
A heat mat can provide gentle root-zone warmth when the surrounding room is too cool. Controlled models use a probe and thermostat to manage compatible heating equipment. More heat is not automatically better, so monitor the media zone and follow crop-specific temperature guidance.
Which accessories do you need?
- For fresh cuttings: a clean sharp tool, prepared plugs or media, a suitable tray and any label-approved rooting product.
- For germinating seeds: the correct tray or insert, evenly prepared medium and a suitable cover where needed.
- For monitoring: a thermometer and hygrometer positioned to represent the plant area.
- For cool rooms: consider a compatible heat mat and thermostat only when measured root-zone conditions require them.
- For repeat batches: use labels and records to separate varieties, dates, media and treatments.
Not every propagation method requires every accessory. Begin with the items needed to prepare, hold and monitor the chosen plants, then add equipment only when observations show a genuine requirement.
Preparing a clean propagation workspace
- Clear old leaves, media and standing water from the work area.
- Clean reusable trays, domes, tools and the surrounding bench.
- Prepare the selected plugs or medium before taking cuttings.
- Arrange clean tools, labels and a safe blade-disposal container within reach.
- Wash hands and use gloves or other protection where product instructions require it.
- Work through one variety or batch at a time to reduce mix-ups.
- Clean the workspace again after finishing.
Good organisation reduces the time a prepared cutting spends exposed before it enters the media. It also prevents clean tools from being placed on contaminated surfaces during the process.
Using a scalpel safely
Work on a stable, well-lit surface and cut away from your body and supporting hand. Do not attempt to catch a dropped blade. Keep children, pets and unnecessary equipment away from the workspace, and never use propagation scalpels for food preparation or household tasks.
Replace a blade when it becomes blunt, damaged or unsuitable for effective cleaning. Clean and disinfect reusable tools according to their instructions, then store them safely so the blade is protected between uses.
Choosing empty trays and inserts
Cell count and plug size
Confirm that the cell opening supports the chosen plug without allowing it to fall through or sit too high. A 60-cell and an 84-cell tray may share similar external dimensions while holding different plug sizes. Check both the cell and overall measurements.
Tray and dome compatibility
The insert, base tray and clear lid must fit together without forcing the plastic or leaving unstable gaps. Browse Propagators, Trays & Heat Mats when you need a complete enclosure rather than an empty insert.
Drainage and watering
Some inserts drain into a separate base tray, while others are designed for a specific system. Ensure excess water can be removed where appropriate and do not leave plugs sitting in a deep reservoir unless the propagation method requires it.
Matching trays with propagation media
Rockwool cubes, bonded plugs, coco, peat-free media and seedling mixes differ in size, water retention and preparation. Compare our Cutting & Seedling Mediums and confirm how the selected medium fits the tray before ordering a large batch.
Prepare media according to its instructions and allow surplus water to drain where required. Repeated heavy watering can reduce air around developing roots, while small plugs can also dry quickly under warm lighting or bottom heat.
Positioning temperature and humidity sensors
Position the sensor near the plant or tray area without allowing it to touch wet media, stand in water or sit directly against a heater. A display outside the propagator with a suitable remote probe inside can be convenient, but the reading depends on the probe's exact location.
Direct light, a cold wall, a heat mat or an open intake can create a local reading that does not represent the whole propagation area. Compare instruments in our Temperature & Humidity collection and check conditions at different times of day.
Using a humidity dome
A clear dome can reduce moisture loss while cuttings have limited roots, but it should not create permanently saturated conditions. Use adjustable vents to introduce air gradually and observe the foliage and media rather than relying only on visible condensation.
Increase ventilation as roots establish or seedlings develop, then acclimatise plants to the surrounding room progressively. Sudden removal from a very humid enclosure can cause rapid moisture loss and wilting.
Using seedling heat mats safely
Place an approved heat mat flat on a stable, dry and heat-tolerant surface with a compatible tray above it. Never fold, overlap, pierce or tightly roll the mat, and do not trap its cable beneath equipment or route it across sharp edges.
Where a thermostat is used, confirm that the heating load falls within its rating and position the probe as instructed. Keep plugs, sockets, controllers and connections away from irrigation water and condensation. Stop using equipment that is damaged, unusually hot or affected by moisture ingress.
Lighting and air movement
Young plants need even, suitable light without excessive intensity or heat. Our Propagation Lights include compact fixtures for trays, shelves and tents. Follow the manufacturer's coverage and mounting-height guidance after every installation change.
Gentle circulation can reduce stagnant pockets, but strong airflow directed at fresh cuttings may dry leaves and plugs quickly. Position fans securely and monitor conditions near the plants rather than judging airflow from outside the enclosure.
Rooting compounds and measuring small doses
Prepare any gel, mist or stimulant exactly as its label directs. Browse Rooting Compounds & Stimulants and avoid returning decanted product to its original container, because this can introduce contamination.
Use a clean syringe, pipette or graduated vessel when a concentrated product requires accurate dilution. Do not estimate small quantities by eye or use the same measuring tool across several products without cleaning it appropriately.
Organising a propagation tent
Keep trays, lights, monitors and cables arranged so every plant can be reached without moving unsafe loads. Our Propagation Tents include compact, multi-tier and specialist enclosures for different spaces.
Do not place a hygrometer where it blocks vents, rest electrical equipment beneath a tray or exceed a shelf's load rating. Label each level or batch so plants can be monitored without repeatedly opening domes or disturbing plugs.
Cleaning and reusing propagation equipment
- Remove all old roots, leaves and growing media after each batch.
- Wash reusable trays and domes using a method compatible with their materials.
- Clean reusable tools before moving between plants or varieties.
- Inspect tray corners, drainage holes and vents where debris can remain.
- Allow equipment to dry before storage or reuse.
- Replace cracked trays, damaged domes and tools that can no longer be cleaned effectively.
Some plugs, inserts and blades are intended for one use. Follow their packaging and disposal guidance rather than attempting to reuse an item that cannot be cleaned safely or retain its original performance.
Why buy propagation accessories from Holland Horticulture?
Established in 1996, Holland Horticulture supplies propagation tools, trays, monitors, domes and heat-mat equipment for home and professional indoor growing. Our accessory range is supported by suitable media, lights, tents and rooting products, together with experienced advice, UK delivery and Click & Collect.
Propagation accessories FAQs
Which accessories do I need to take plant cuttings?
Begin with a clean sharp cutting tool, prepared media, a compatible tray, labels and a suitable propagation environment. A rooting product, humidity dome or heat mat may also be useful where the plant and measured conditions require them.
Can empty propagation trays be reused?
Reuse depends on the tray material and condition. Clean compatible trays thoroughly between batches and replace anything cracked, distorted or too damaged to clean effectively.
How should a propagation scalpel be cleaned and stored?
Follow the product's cleaning and disinfection instructions, then store it where the blade cannot be touched accidentally. Replace damaged or blunt blades and use an appropriate sharps container for disposal.
Where should I place a thermometer or hygrometer?
Place its sensor close to the plants without touching wet media, standing water, direct heat or the light. The location should represent the area you are trying to monitor.
Do I need a seedling heat mat?
Only when the existing root-zone temperature is below the suitable range for the plant. Measure the actual conditions first and use controlled bottom heat rather than assuming warmer is always better.
Which empty tray size should I choose?
Match the cell dimensions to the selected plugs or media, then confirm the overall tray fits the base tray, dome, shelf or propagation system. Do not choose by cell count alone.
How often should propagation equipment be cleaned?
Clean trays, domes and the work area between batches, and clean tools whenever moving between plants or varieties. Deal with spills and contaminated material immediately rather than waiting for the cycle to end.