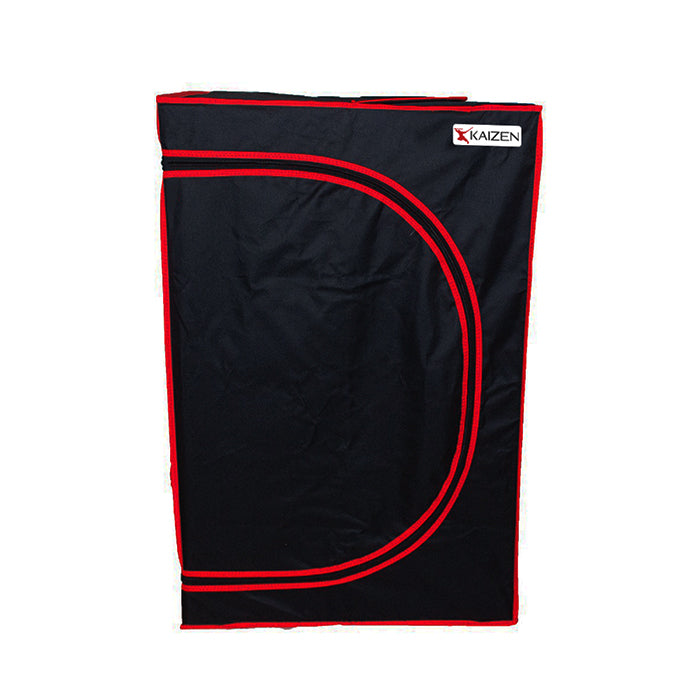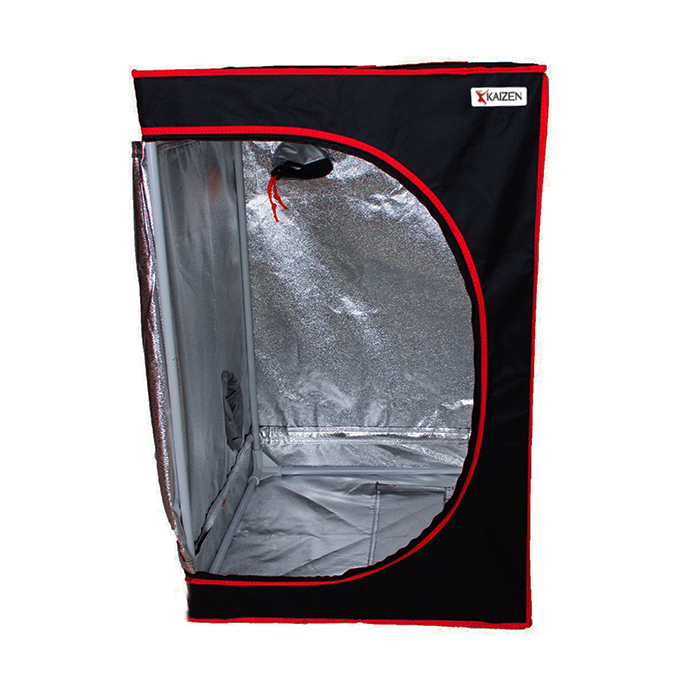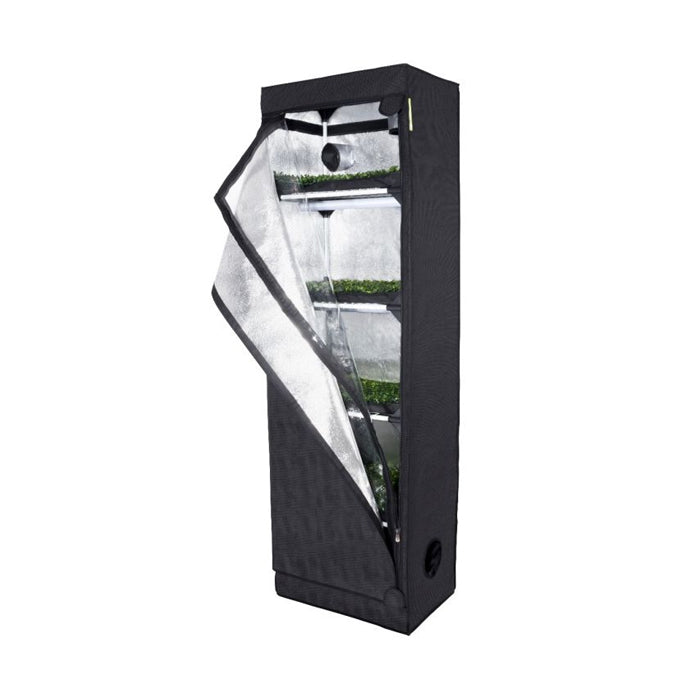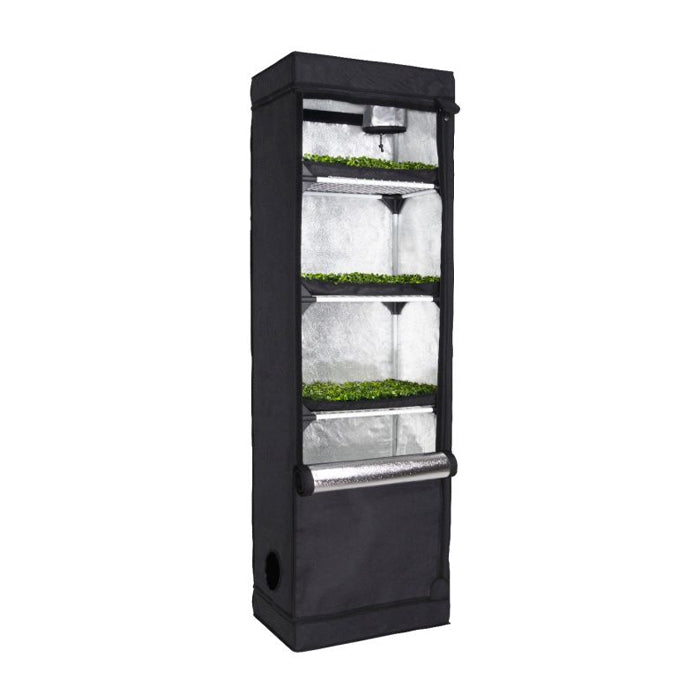
Shop propagation grow tents for seeds, cuttings, seedlings and young plants. Compare compact tents, dual-use designs, multi-tier models with shelves, specialist rack enclosures and complete options supplied with propagation lighting.
A dedicated tent makes a small propagation area easier to organise and monitor, but the correct size and equipment depend on your trays, lights and room conditions. Check each model's external dimensions, internal layout, included components, ventilation points and orientation before ordering.
Propagation grow tents for seedlings and cuttings
Young plants usually need a smaller, gentler setup than an established canopy. A propagation tent creates a defined area for lighting, trays, humidity domes and environmental equipment without requiring a full-size grow room. Its enclosed design can also make temperature, humidity and airflow changes easier to observe.
The tent itself does not automatically create ideal conditions. Temperature, humidity, root-zone warmth, air exchange, lighting and media moisture still need to be measured and adjusted for the plant and propagation stage. Use the enclosure as the foundation of the setup rather than treating it as an environmental controller.
Types of propagation tent
Compact propagation tents
A compact tent suits a small number of trays, a low propagation light or a protected space for fresh cuttings. Lower-profile models can fit on a bench or within a limited room area. Measure the full external footprint and allow enough clearance to open the doors, route cables and reach every plant safely.
Dual-use horizontal and vertical tents
Some tents can be positioned horizontally for a broad, shallow tray area or vertically when extra plant height is needed. This can make one enclosure useful across more than one propagation stage. Only use a model in an alternative orientation when the manufacturer specifies that configuration, and reposition ports, equipment and supports accordingly.
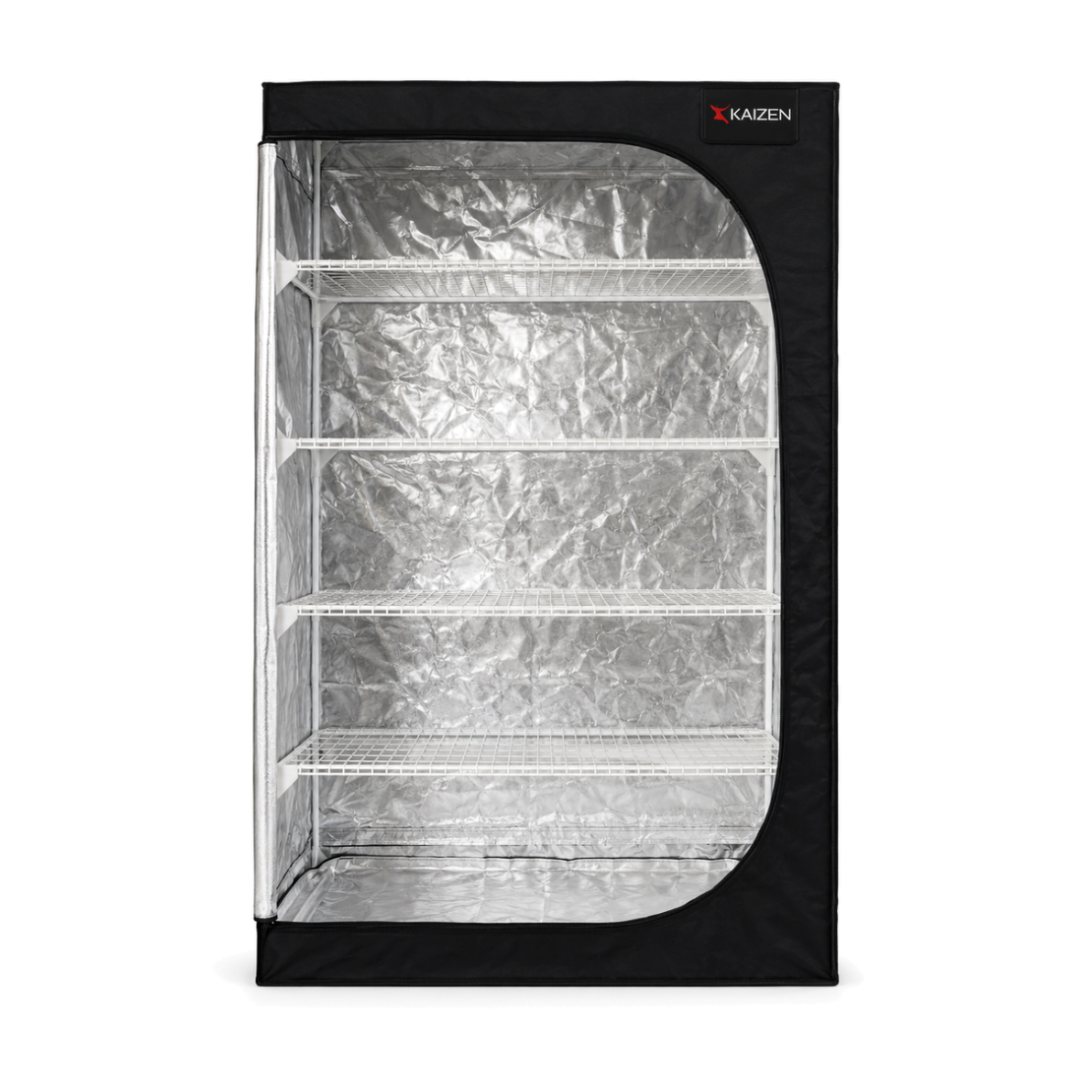
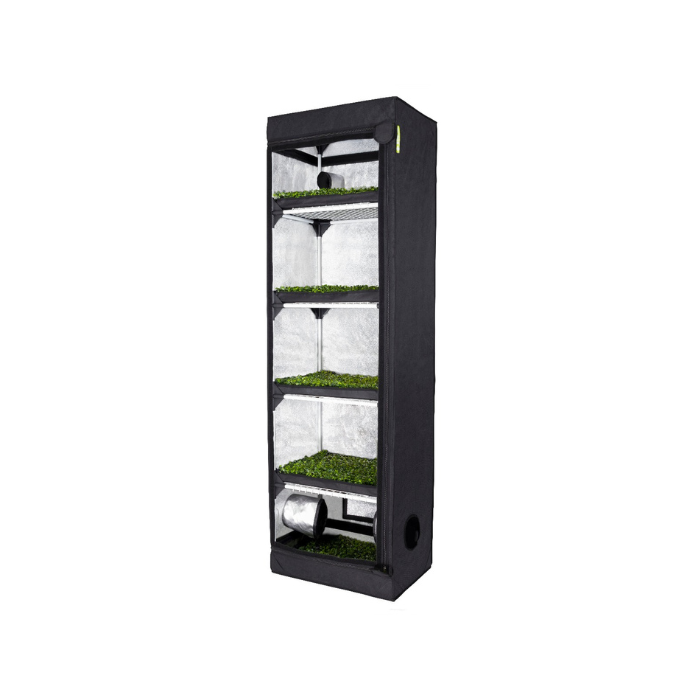
Multi-tier propagation tents
Shelved tents divide the enclosure into separate growing levels, helping several trays use the same floor footprint. They can be useful for organising varieties, batches or stages of development. Confirm the number of shelves supplied, usable clearance between levels and the permitted shelf and frame loads before adding lights, propagators or filled trays.
Propagation tents supplied with lights
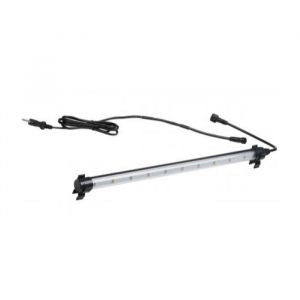
A tent-and-light package can simplify equipment matching because its main components are selected as a set. Check exactly what the bundle contains, how many fixtures are supplied and whether shelving is included. Heating, ventilation, trays, plants and monitoring equipment should not be assumed to be part of the kit unless listed.
Rack shells and specialist enclosures
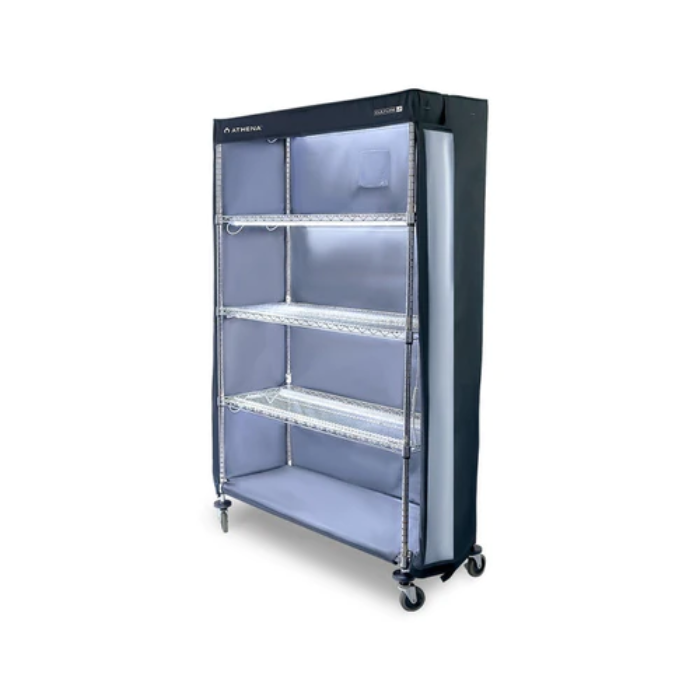
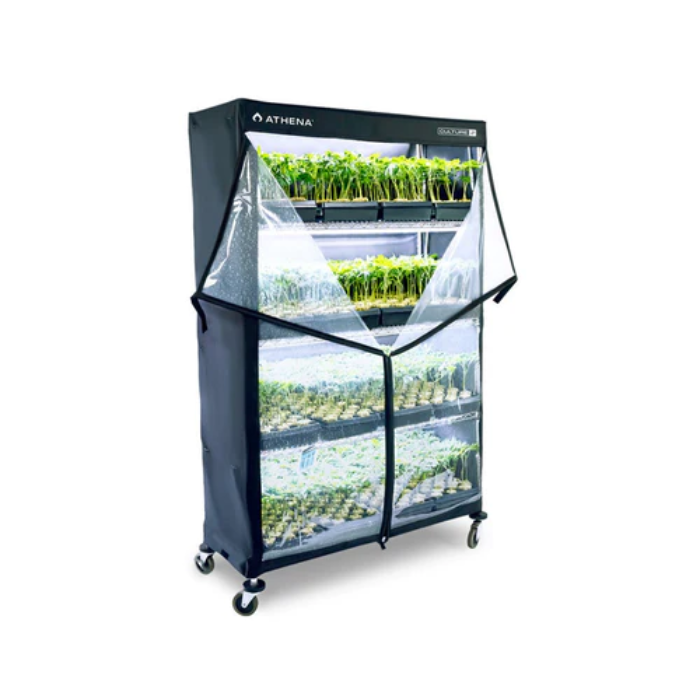
A fabric shell designed to cover a standard wire rack creates a different setup from a framed reflective tent. It may use transparent doors, sensor holders or magnetic closures to enclose several trays. Check the required rack size and note whether the listing is for the shell only; the rack, lighting and accessories may need to be purchased separately.
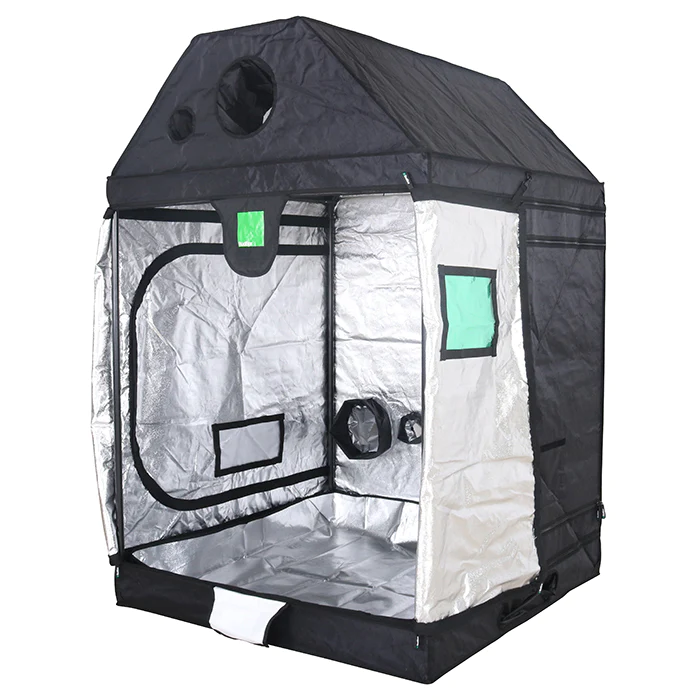
Pitched-roof and specialist-shaped tents
A pitched-roof tent is designed for a loft, attic or another area where a conventional rectangular frame wastes headroom. Measure both the vertical sidewall and maximum central height. Confirm that the selected location has suitable access, ventilation, power and a stable floor before installing equipment.
How to choose the right propagation tent
Start with the available space
Measure width, depth and height at the intended location. Dimensions are normally shown as width × depth × height, but verify the format on the individual listing. Allow extra room around the outside for doors, ducting, cable bends, passive vents and routine maintenance.
Plan the internal layout
List the tray, propagator, light and fan dimensions before choosing the tent. Internal usable space can be smaller than the nominal external size because poles, shelf supports, ports and fabric seams occupy part of the enclosure. A quick scaled layout can prevent purchasing a tent that fits the room but not the equipment.
Choose the number of growing levels
Multi-tier designs increase capacity but each level needs enough height for the tray, plants, light, hanging hardware and safe separation. Taller seedlings may outgrow a closely spaced shelf arrangement. Removable or adjustable shelves can offer flexibility, but only where the product specification confirms those features.
Check included components
Collection images can show a completed setup for context. Read the product's package contents to confirm whether shelves, lights, trays, racks or accessories are included. “Shell only” means the supporting rack and equipment are not supplied.
Compare access and ports
A wide opening makes watering and inspection easier, particularly across several shelves. Check the number and size of cable, intake and extraction ports against the intended equipment. Do not cut extra openings or overload a fabric port to accommodate unsuitable ducting.
Setting up a propagation tent
- Choose a stable, level and dry indoor position with safe access to power.
- Check the parts list and assemble the frame or rack according to the instructions.
- Fit the fabric shell carefully without forcing zips, seams or corners.
- Install supplied shelves and confirm their orientation and load limits.
- Position trays and propagators so water cannot reach electrical connections.
- Mount suitable lights and fans using approved support points and secure hardware.
- Place temperature and humidity sensors where they represent the plant area.
- Run the empty setup, check conditions and make adjustments before adding plants.
Keep instructions, model details and maximum-load information with the equipment. Recheck all connections after the tent has been moved, reoriented or fitted with different shelves.
Lighting a propagation tent
Propagation lighting should provide even coverage without excessive intensity or heat. A compact LED, T5 or another suitable low-output fixture may work well, depending on the tent, crop and available headroom. Compare fixtures in our Propagation Lights collection and follow their mounting-height and coverage guidance.
Each tier normally needs its own appropriate light unless the layout is specifically designed to distribute illumination between levels. Secure every fixture independently rather than allowing its weight to rest on plants or loose shelf fabric. Check the combined load against the tent, shelf and hanging-system ratings.
Temperature and humidity
A small enclosed tent can respond quickly to lighting, heating, room temperature and moisture. Use a thermometer and hygrometer from our Temperature & Humidity range rather than judging conditions by condensation alone. Sensors should sit near the propagation area without touching water or being placed directly against a heater.
Fresh cuttings may need a more humid immediate environment than established seedlings, which is why a separate humidity dome is often used inside the tent. Increase ventilation and acclimatise plants progressively as roots develop. Do not assume that the whole tent must remain sealed or saturated.
Using propagators, trays and heat mats
Select Propagators, Trays & Heat Mats that fit the shelf or floor area with room for safe handling. A heated propagator or thermostatically controlled mat can provide root-zone warmth where the surrounding room is too cool, but extra heat is not automatically necessary.
Keep heat mats flat and use them only as directed. Never fold, overlap, puncture or trap their cables. Confirm that the shelf material and propagator are compatible with the heating equipment and that the thermostat probe is positioned according to its instructions.
Air exchange and circulation
Air movement should be gentle around seeds, cuttings and young plants. A small circulation fan can reduce stagnant pockets and help conditions remain more even, but strong direct airflow may dry foliage and plugs too quickly. Browse Air Circulation Fans and select equipment suitable for the tent's size and support points.
Passive vents may be adequate in some small setups, while lighting, heat and humidity can make controlled extraction useful in others. Base the decision on measured conditions. Keep intake paths clean and avoid creating negative pressure that pulls the fabric heavily against shelves or equipment.
Cutting and seedling media
Rockwool cubes, bonded plugs, coco, peat-free products and seedling mixes hold different amounts of air and moisture. Our Cutting & Seedling Mediums collection helps you match the substrate to the propagation method and next growing system.
Prepare media before taking cuttings or sowing seeds, then water according to the material rather than on a fixed schedule. Small plugs can change from wet to dry quickly inside a warm tent, while repeated heavy watering can reduce the air available to new roots.
Rooting products and early nutrition
Rooting gels, mists and stimulants perform different jobs. Visit Rooting Compounds & Stimulants and follow the exact label for the crop, stage and application method. A rooting compound is not automatically a complete propagation feed.
Once suitable roots have formed, use nutrition appropriate to the media and plant stage. Avoid combining several starter feeds and root products without accounting for their total strength. Young plants generally require a more restrained programme than an established crop.
Electrical and load safety
- Keep plugs, extension sockets, controllers and cable joins above possible water or spills.
- Use electrical equipment only within its stated load and environmental rating.
- Support lights, filters and fans from points approved by the tent manufacturer.
- Do not exceed the rating of shelves, poles, hanging bars or the supporting rack.
- Keep cables away from sharp frame edges, door zips and hot equipment.
- Stop using damaged fabric, shelving, cables or electrical devices until they are repaired or replaced correctly.
Waterproof fabric or a removable base tray provides useful protection from minor spills; it does not make unsafe electrical placement acceptable. Clean up water promptly and investigate repeated leaks rather than allowing moisture to collect beneath trays.
Cleaning between propagation cycles
- Remove old leaves, roots, labels and growing media after each batch.
- Wipe the interior using a method compatible with the tent lining and shelf materials.
- Clean reusable trays, domes, tools and sensors separately.
- Inspect seams, zips, corners, ports and shelf joints where debris can collect.
- Allow surfaces to dry before closing the tent or starting the next batch.
- Check fans, intake covers and electrical equipment for dust or damage.
Moving plants to their next growing space
Seedlings and rooted cuttings should leave the propagation setup when their root system and foliage are ready for the next container or system. The correct point varies by species, media, plant health and environmental conditions. Avoid disturbing plugs repeatedly just to check for roots.
Acclimatise plants progressively if the next space has lower humidity, stronger airflow or more intense lighting. A sudden move from a protected tent or dome can cause rapid moisture loss and stress even when the plants appear well rooted.
Why buy a propagation tent from Holland Horticulture?
Established in 1996, Holland Horticulture supplies compact, multi-tier and specialist propagation tents from Kaizen, Garden HighPro, BudBox and Athena, together with compatible lighting, trays, media and environmental equipment. Our range is supported by experienced advice, UK delivery and Click & Collect.
Return to our Propagation hub to compare tents with propagators, lighting, media, rooting products and accessories for a complete early-growth setup.
Propagation tents FAQs
What is a propagation tent used for?
It creates a compact enclosed area for seeds, cuttings, seedlings and young plants. The tent holds and organises suitable lighting, trays and environmental equipment but does not regulate conditions automatically.
Do propagation tents include shelves?
Some multi-tier models include shelves, while compact tents, roof tents and shell-only products may use a different layout. Check the package contents and product specification for the exact model before ordering.
Do propagation tents include lights?
Only products explicitly sold as a lighting bundle include fixtures. Standard tents and shell-only enclosures normally require separate lights, hanging equipment and environmental controls.
Which size propagation tent should I choose?
Measure the room and every item that must fit inside. Allow space for plant height, tray access, lights, fans, cables, ports and door movement rather than choosing from floor area alone.
Does a propagation tent need extraction?
That depends on the tent volume, equipment heat, moisture and surrounding room. Monitor temperature, humidity and air quality, then use passive ventilation or suitable extraction where the measured conditions require it.
Can I put a heat mat inside a propagation tent?
Yes, when the mat, tray and supporting surface are compatible and the equipment is installed according to its instructions. Keep the mat flat and use suitable thermostatic control where recommended.
Can a propagation tent be used throughout the year?
It can provide a dedicated propagation area in any season, but the equipment required will change with the surrounding room. Heating may be useful in cooler periods, while warmer conditions can require more ventilation or cooling.